Pictures:

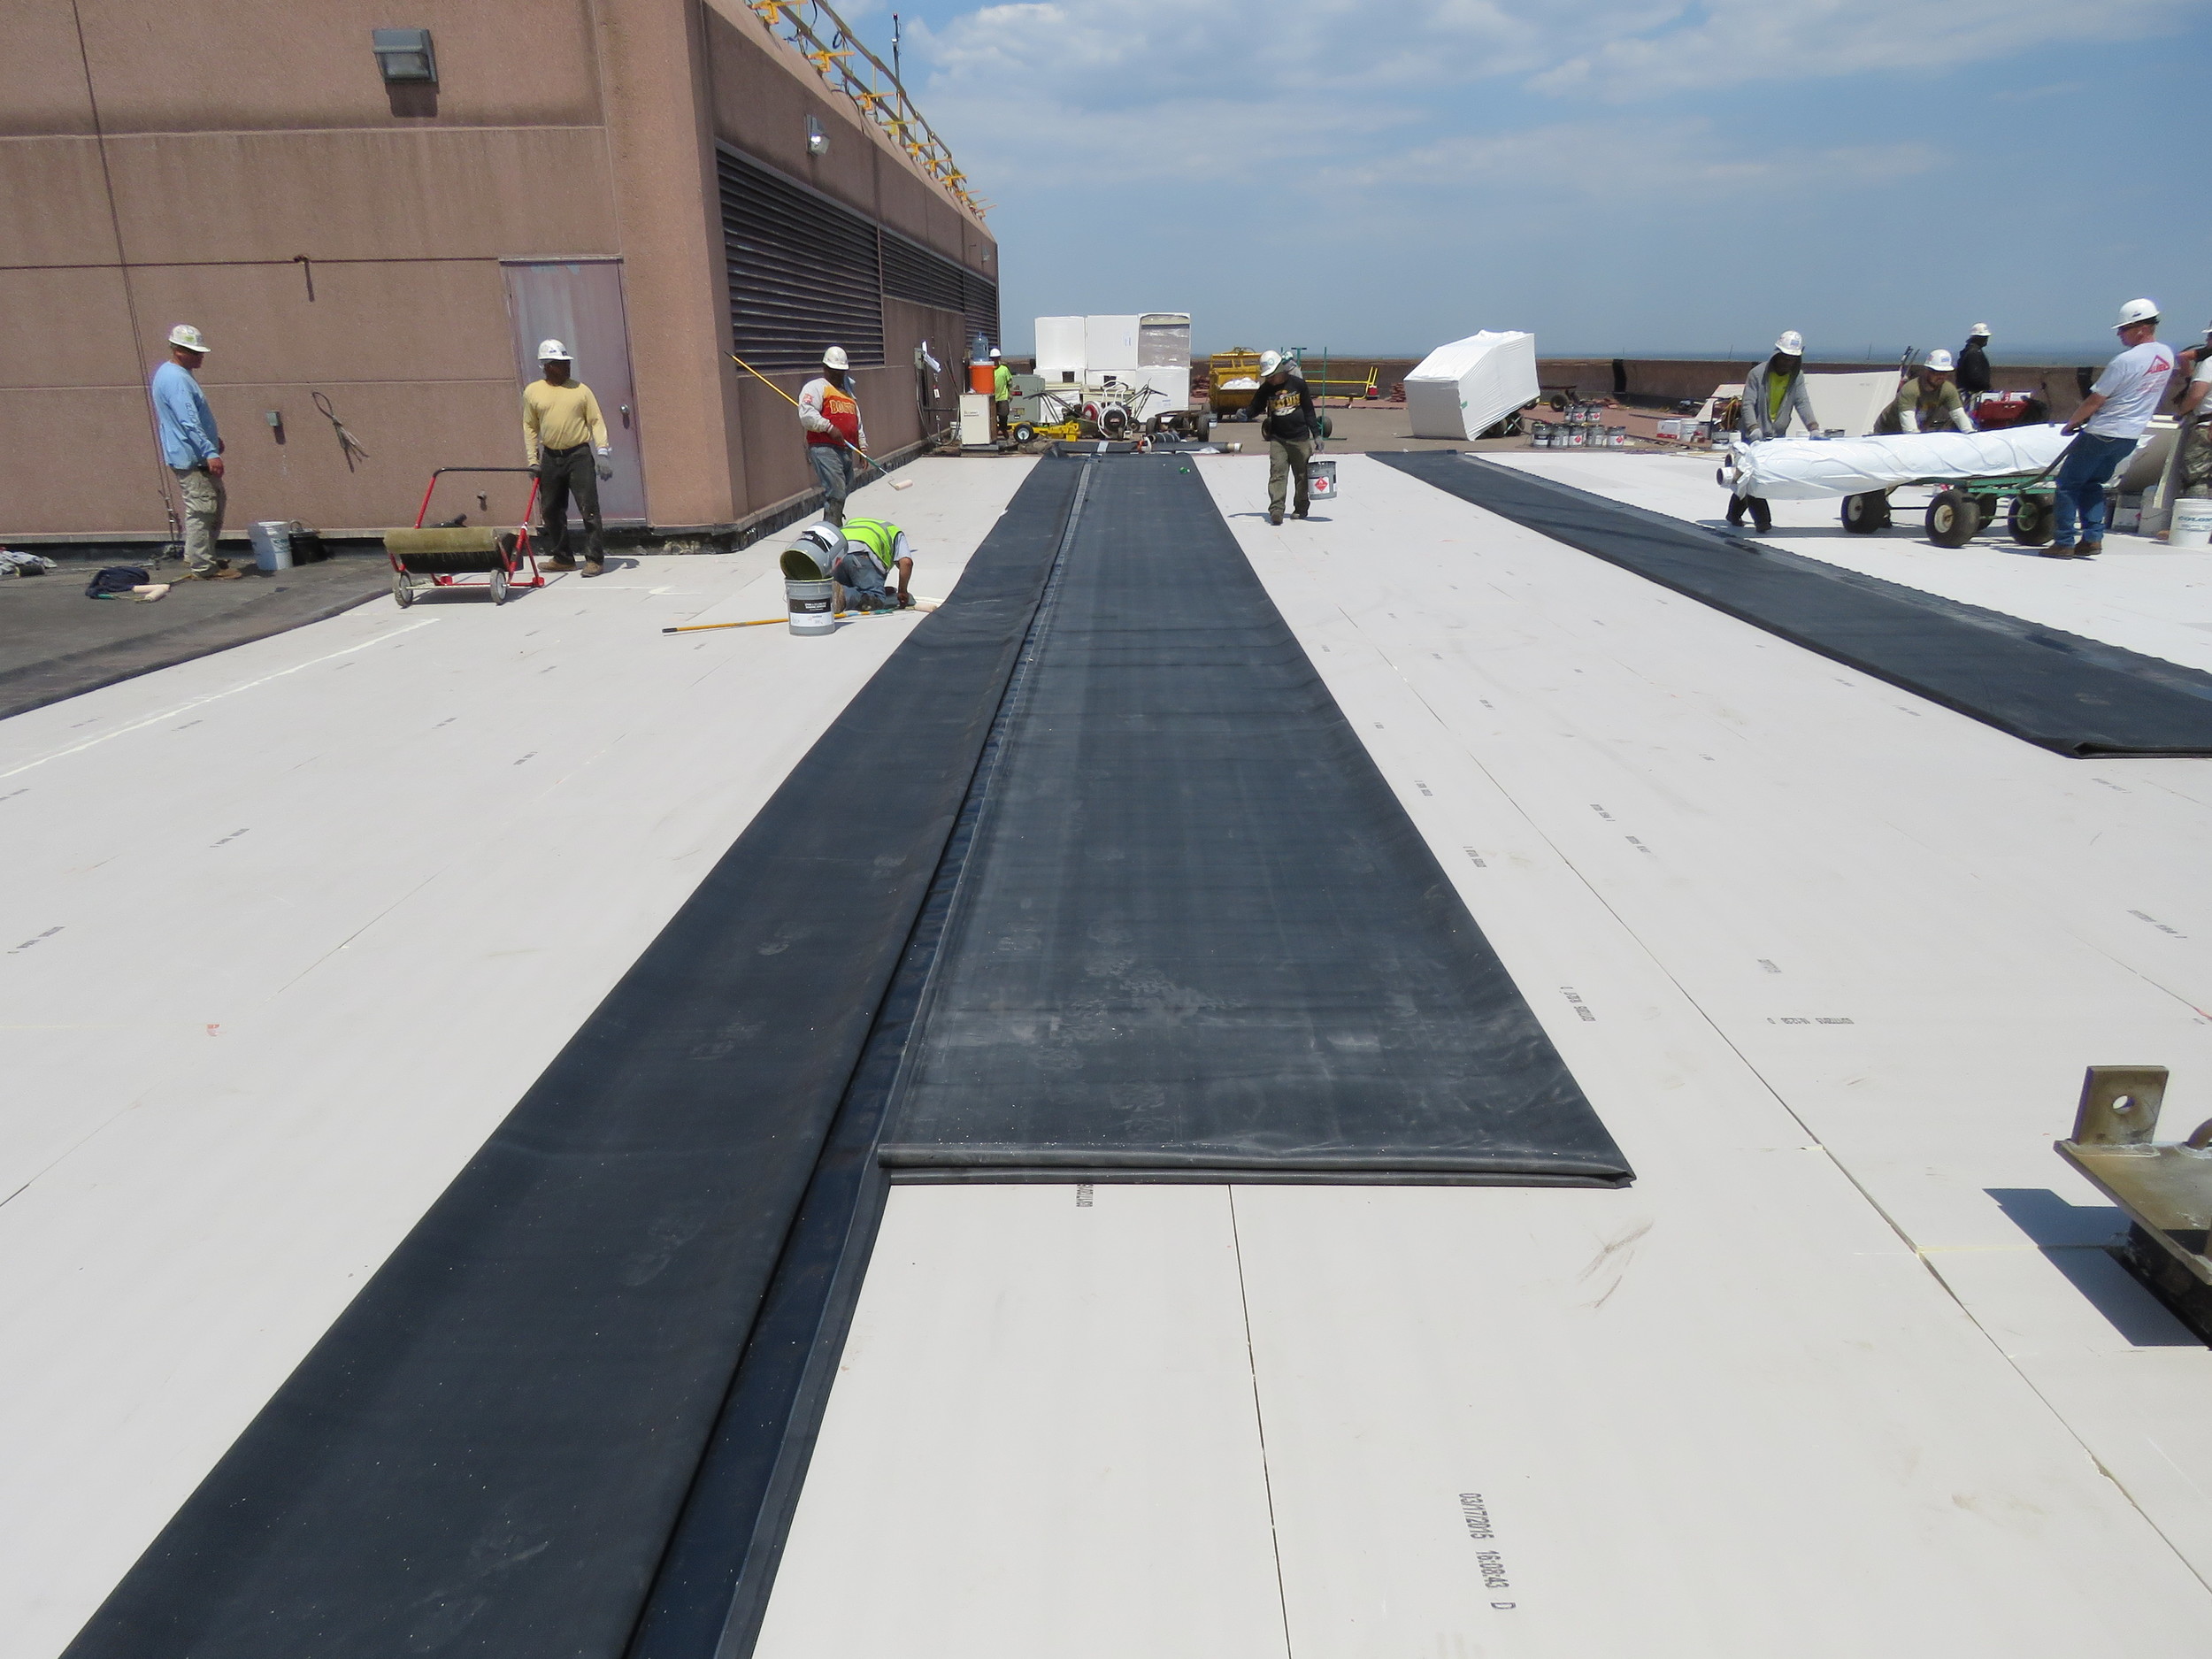
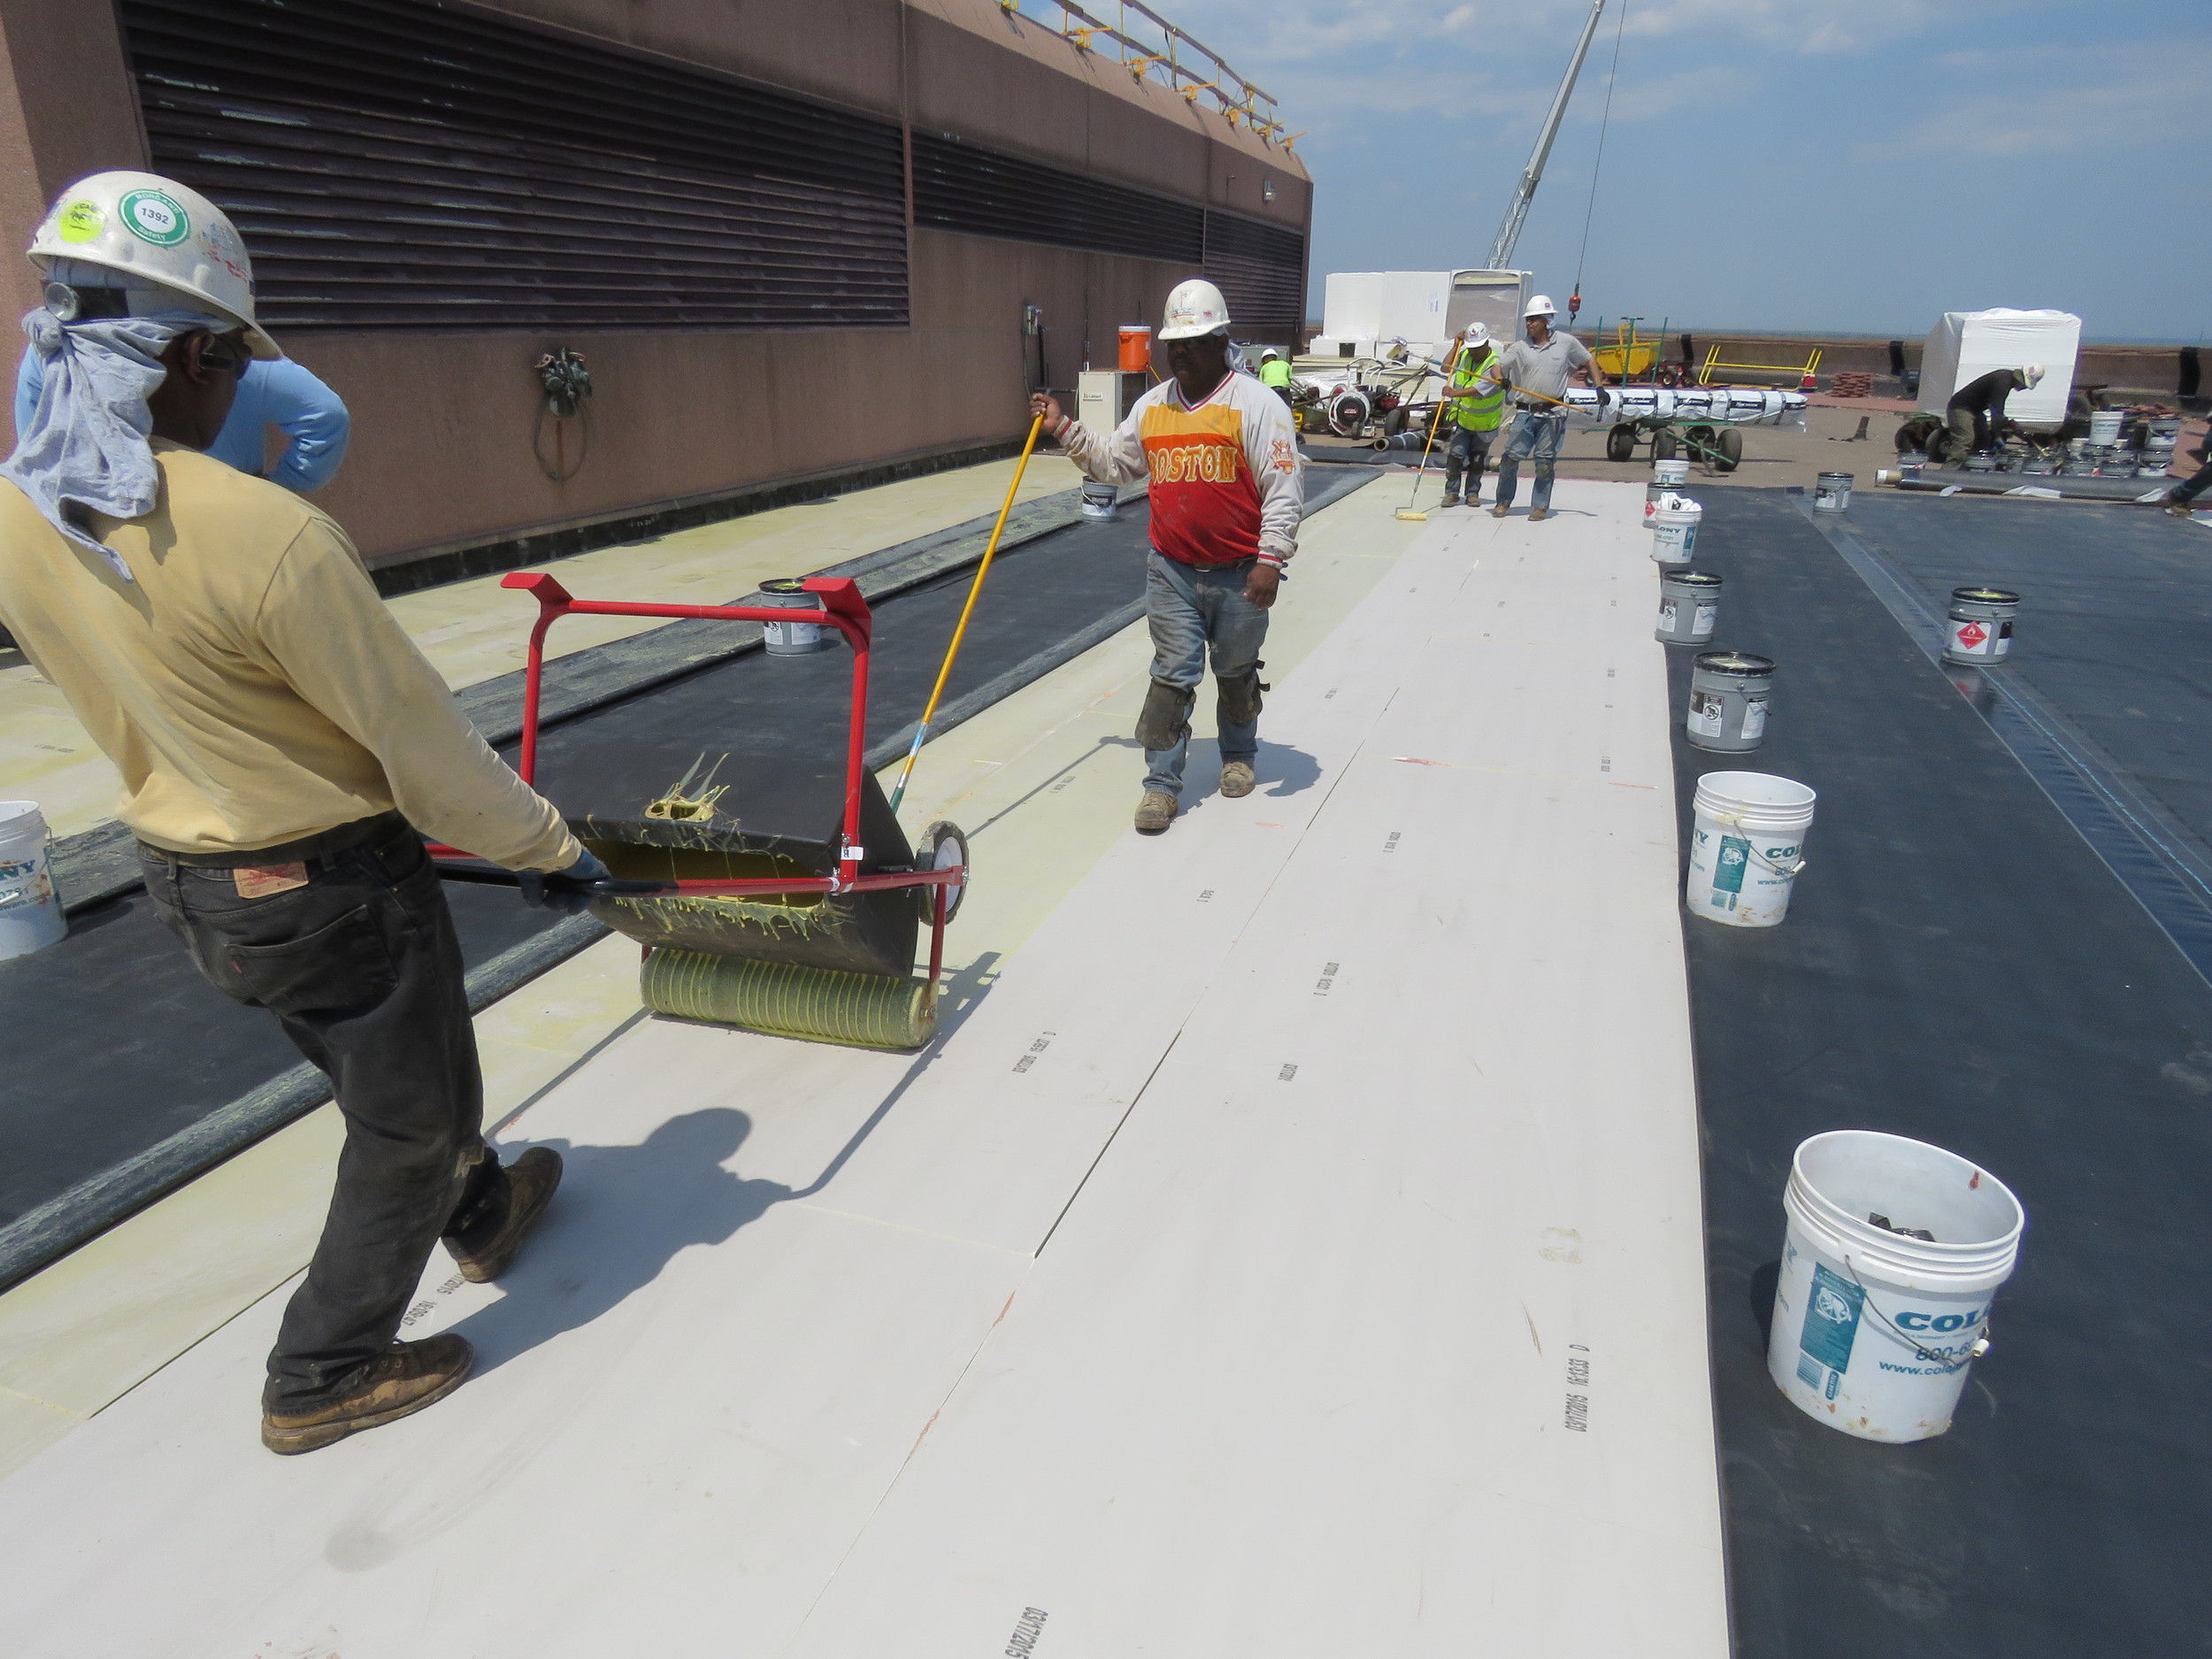
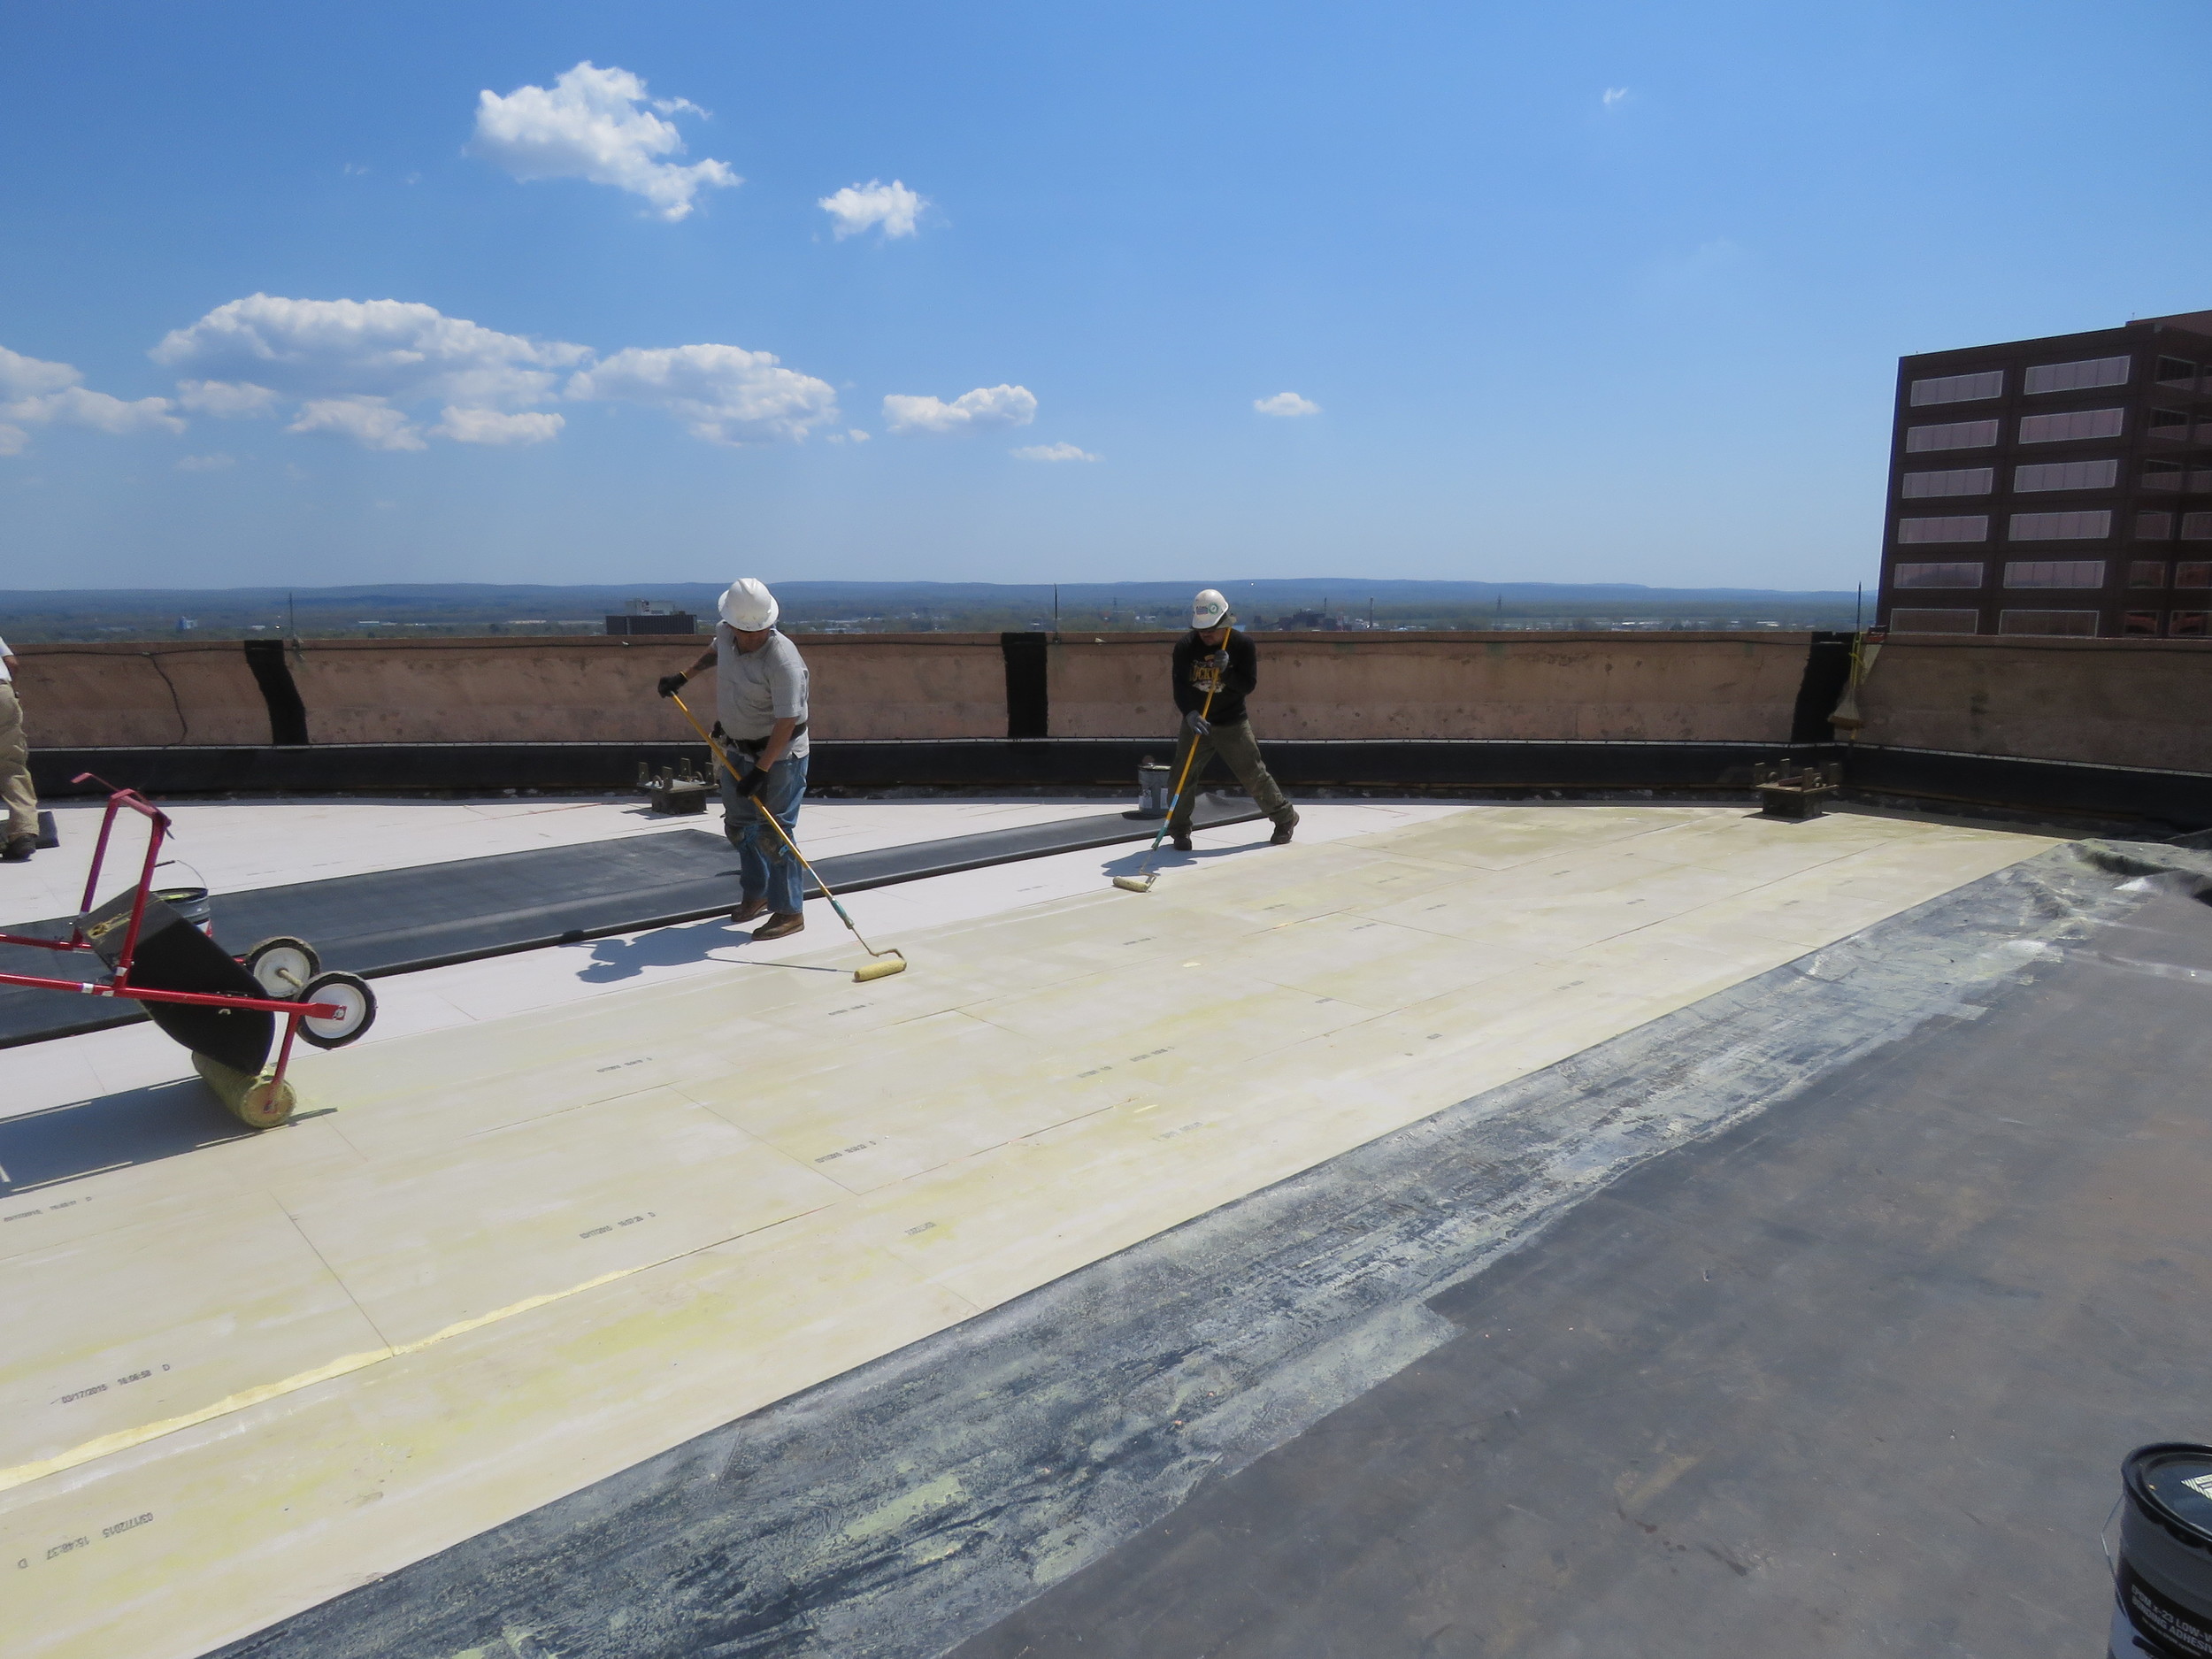
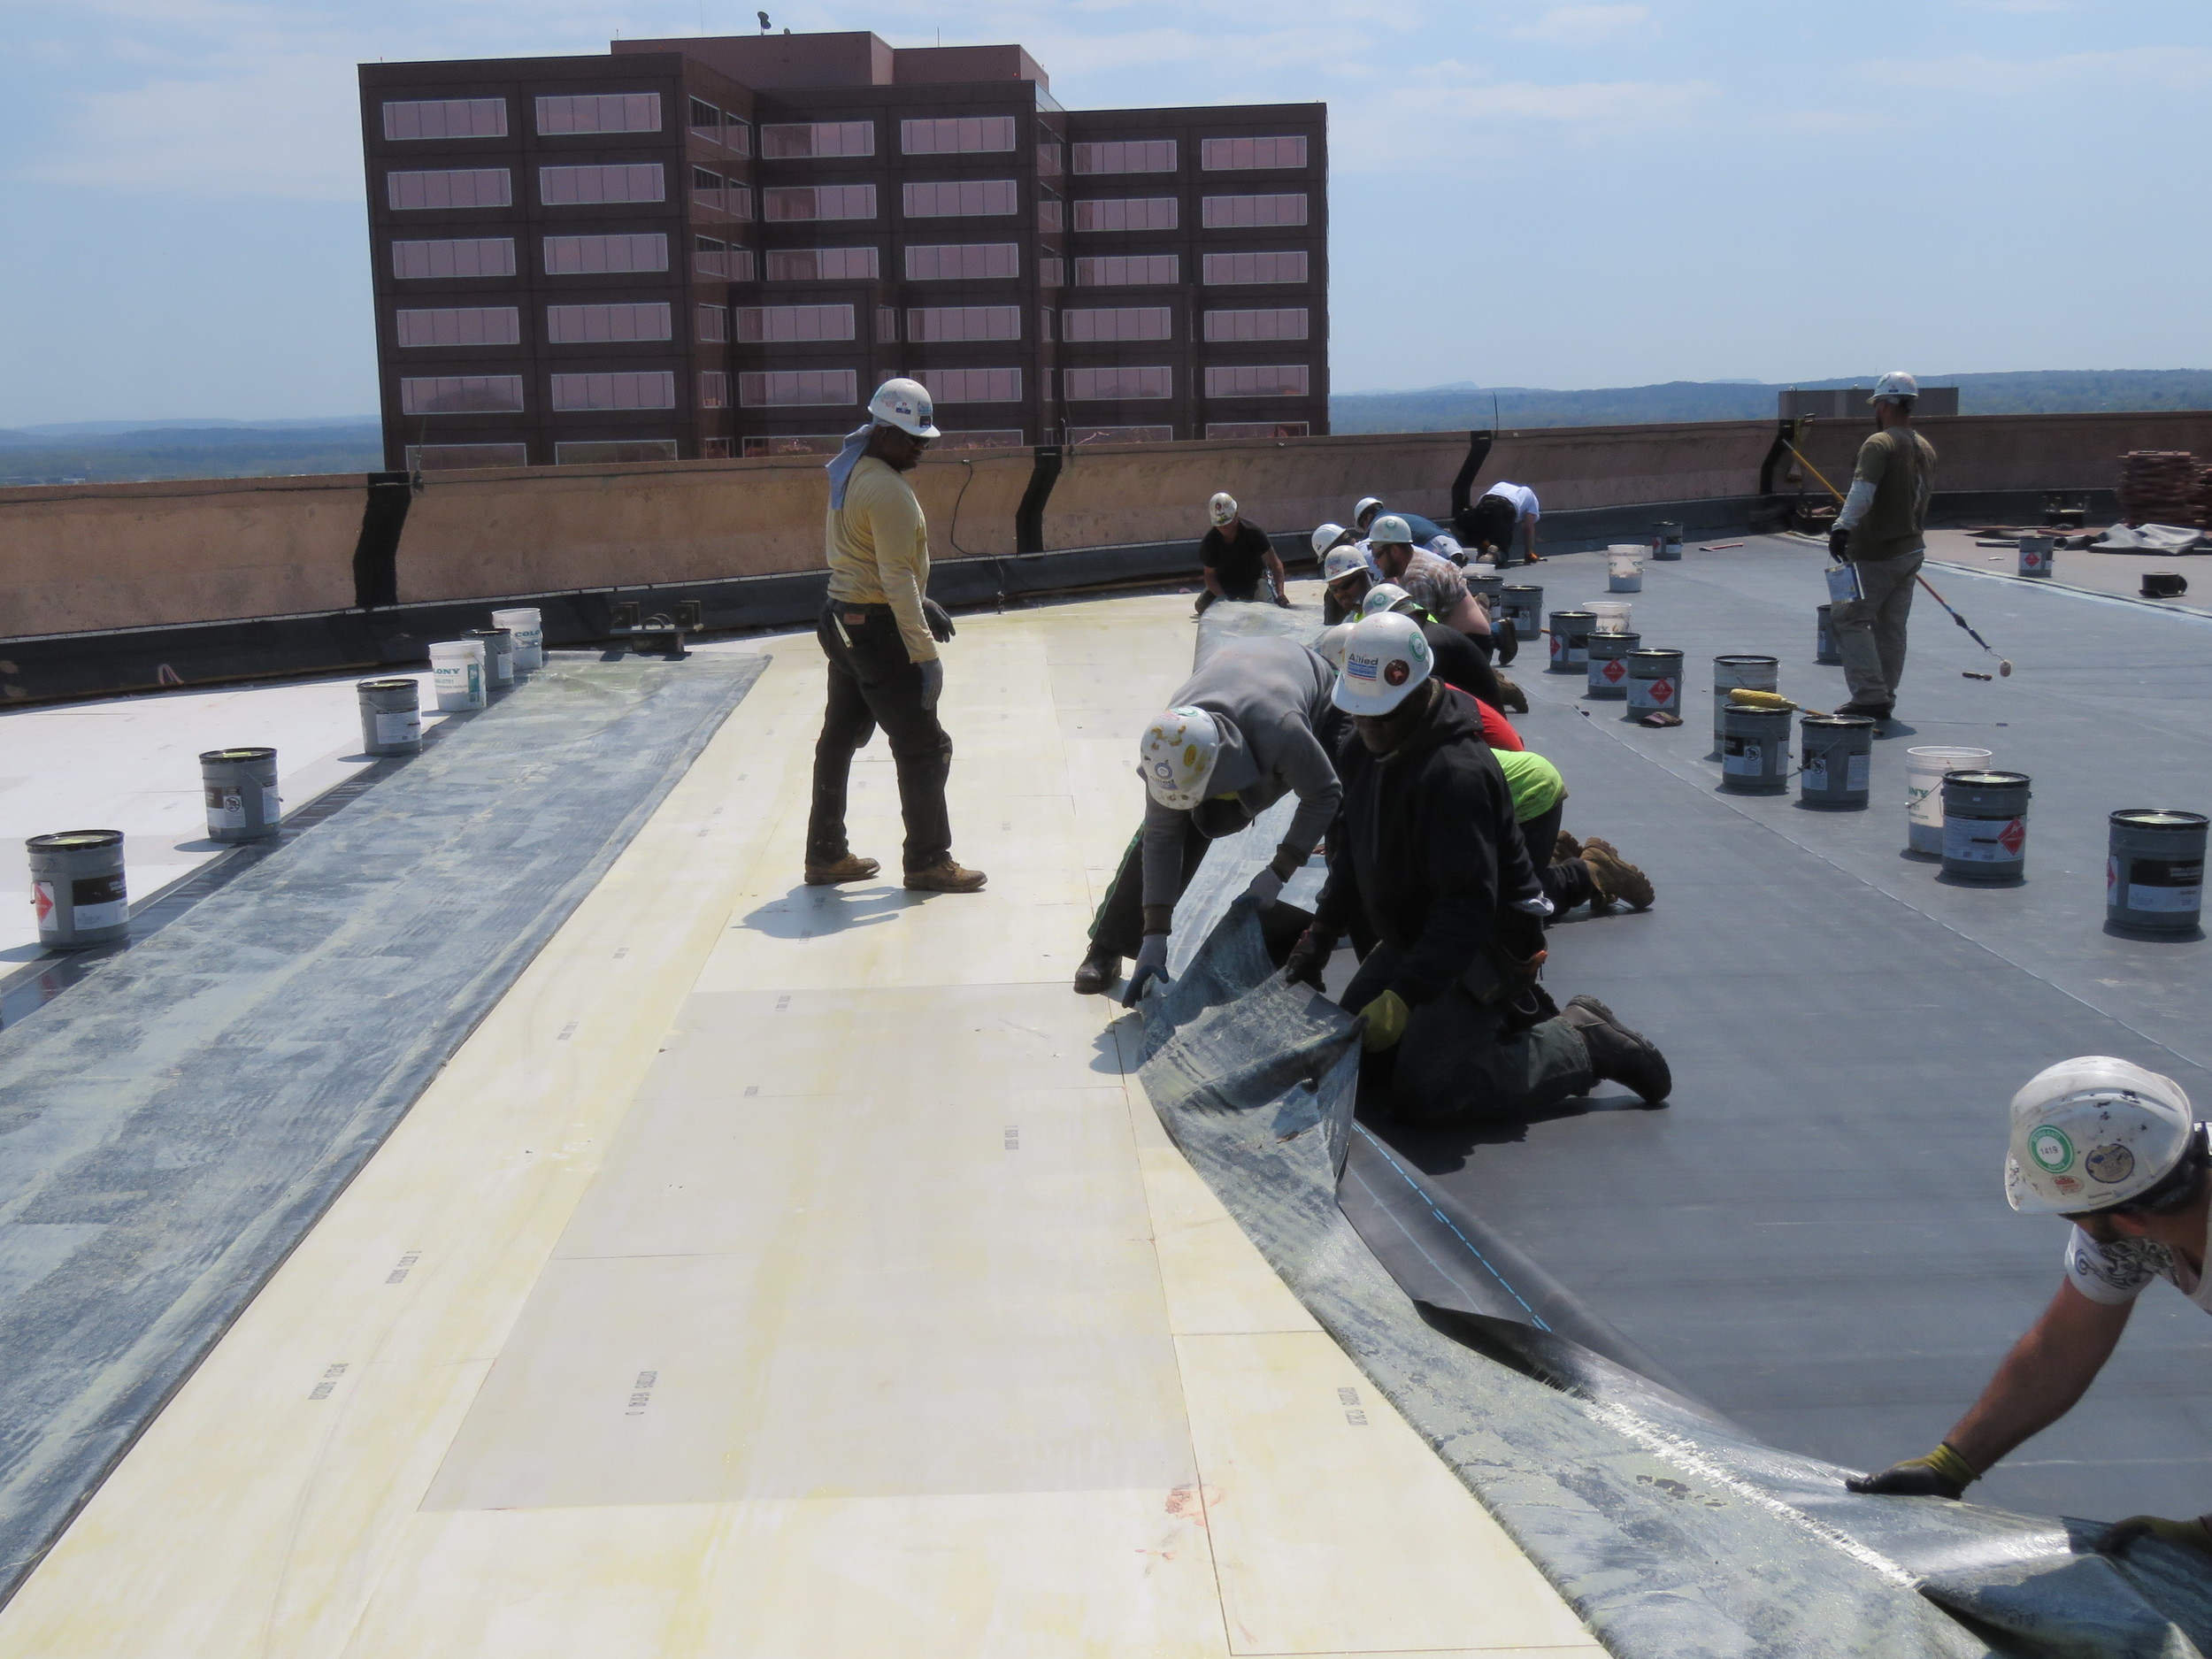
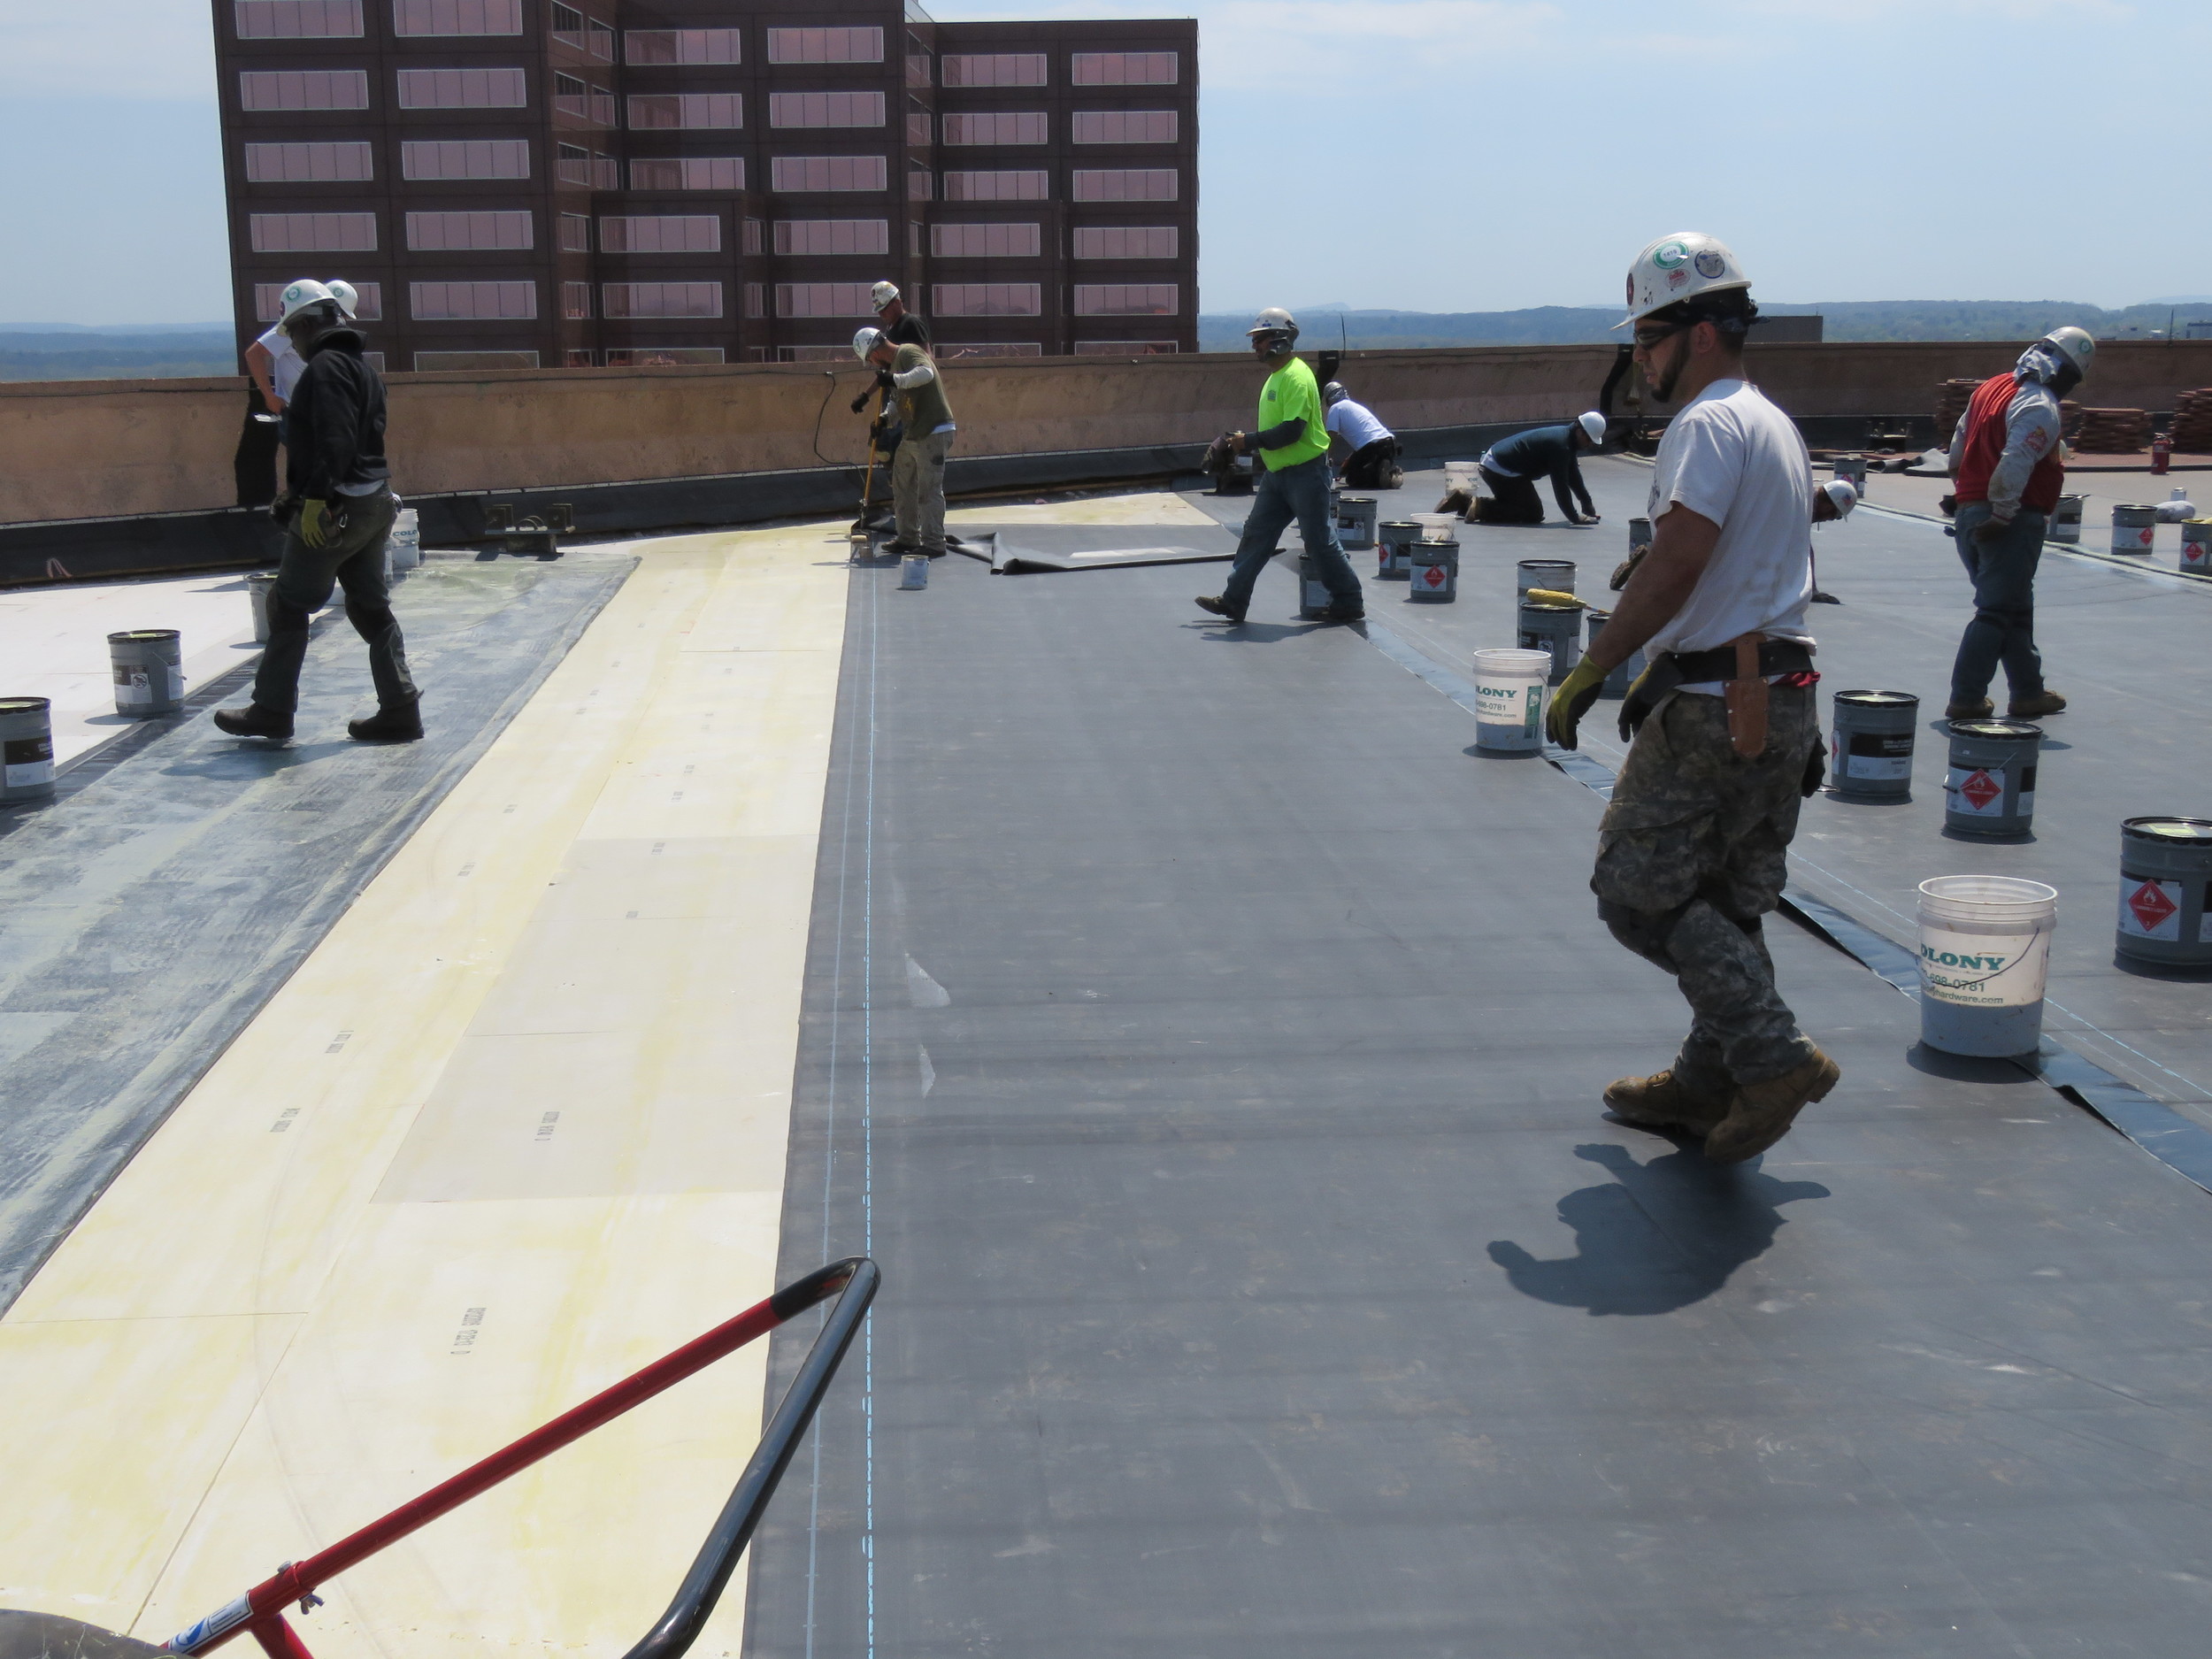
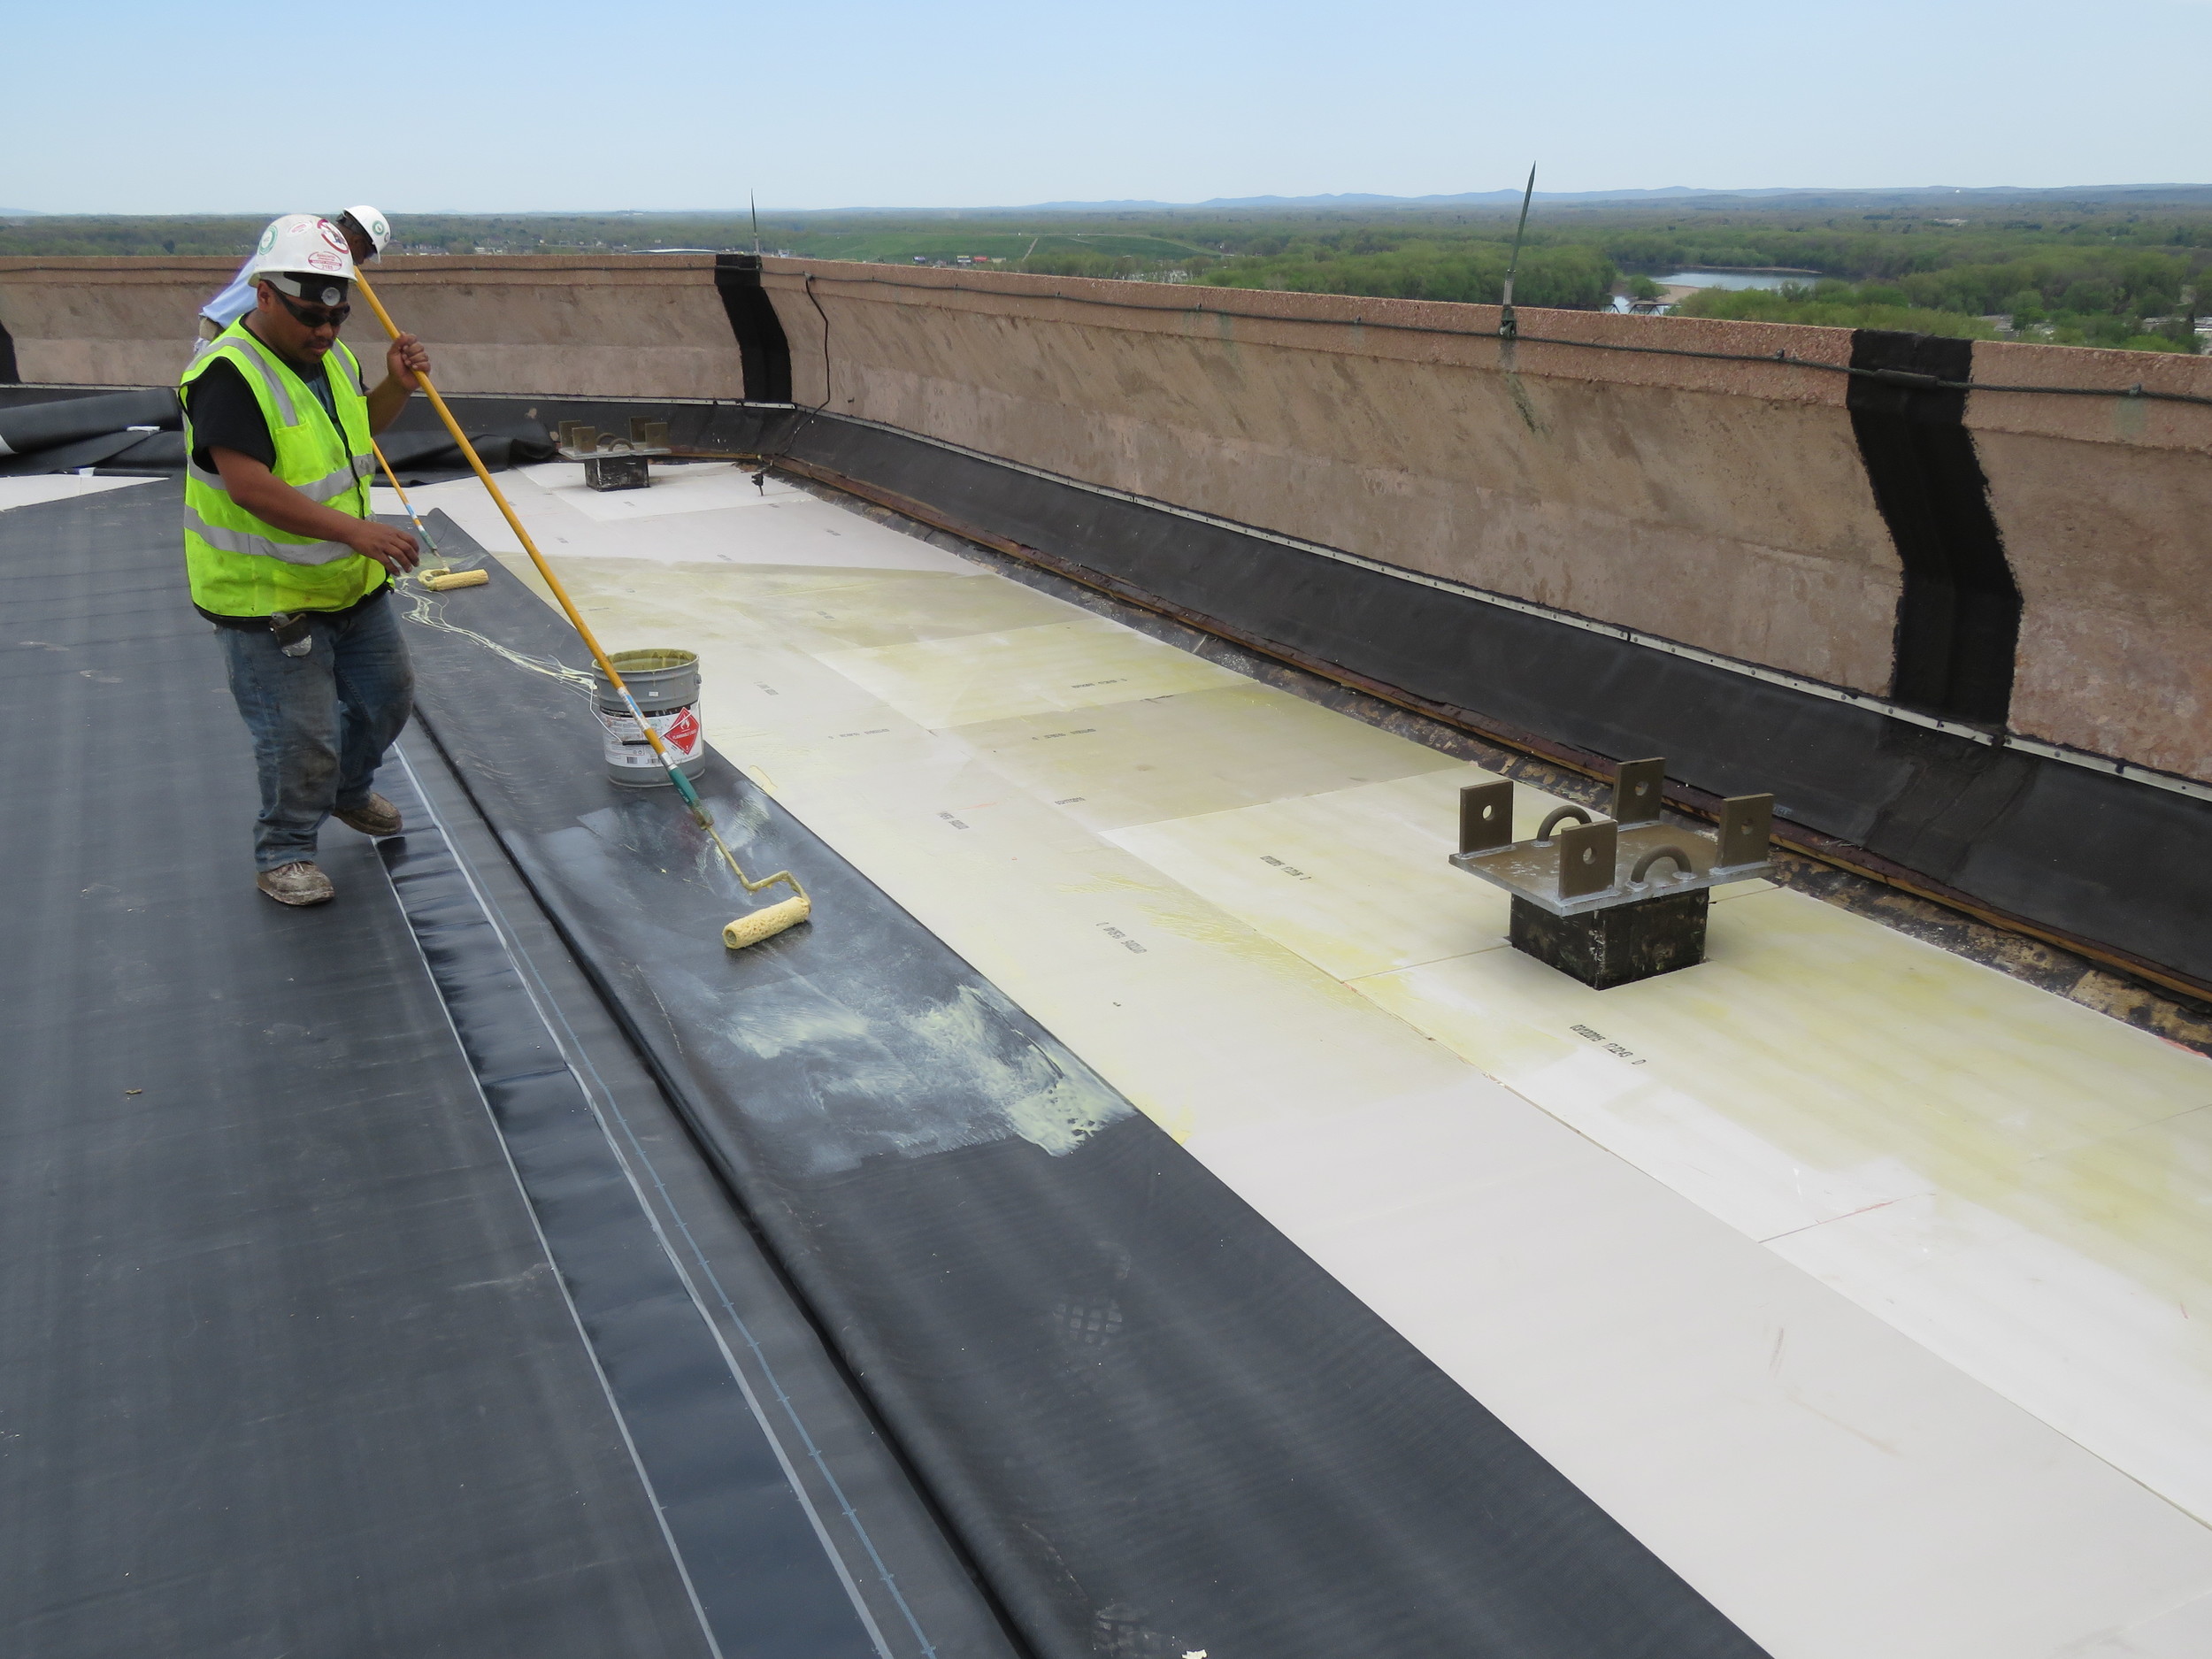
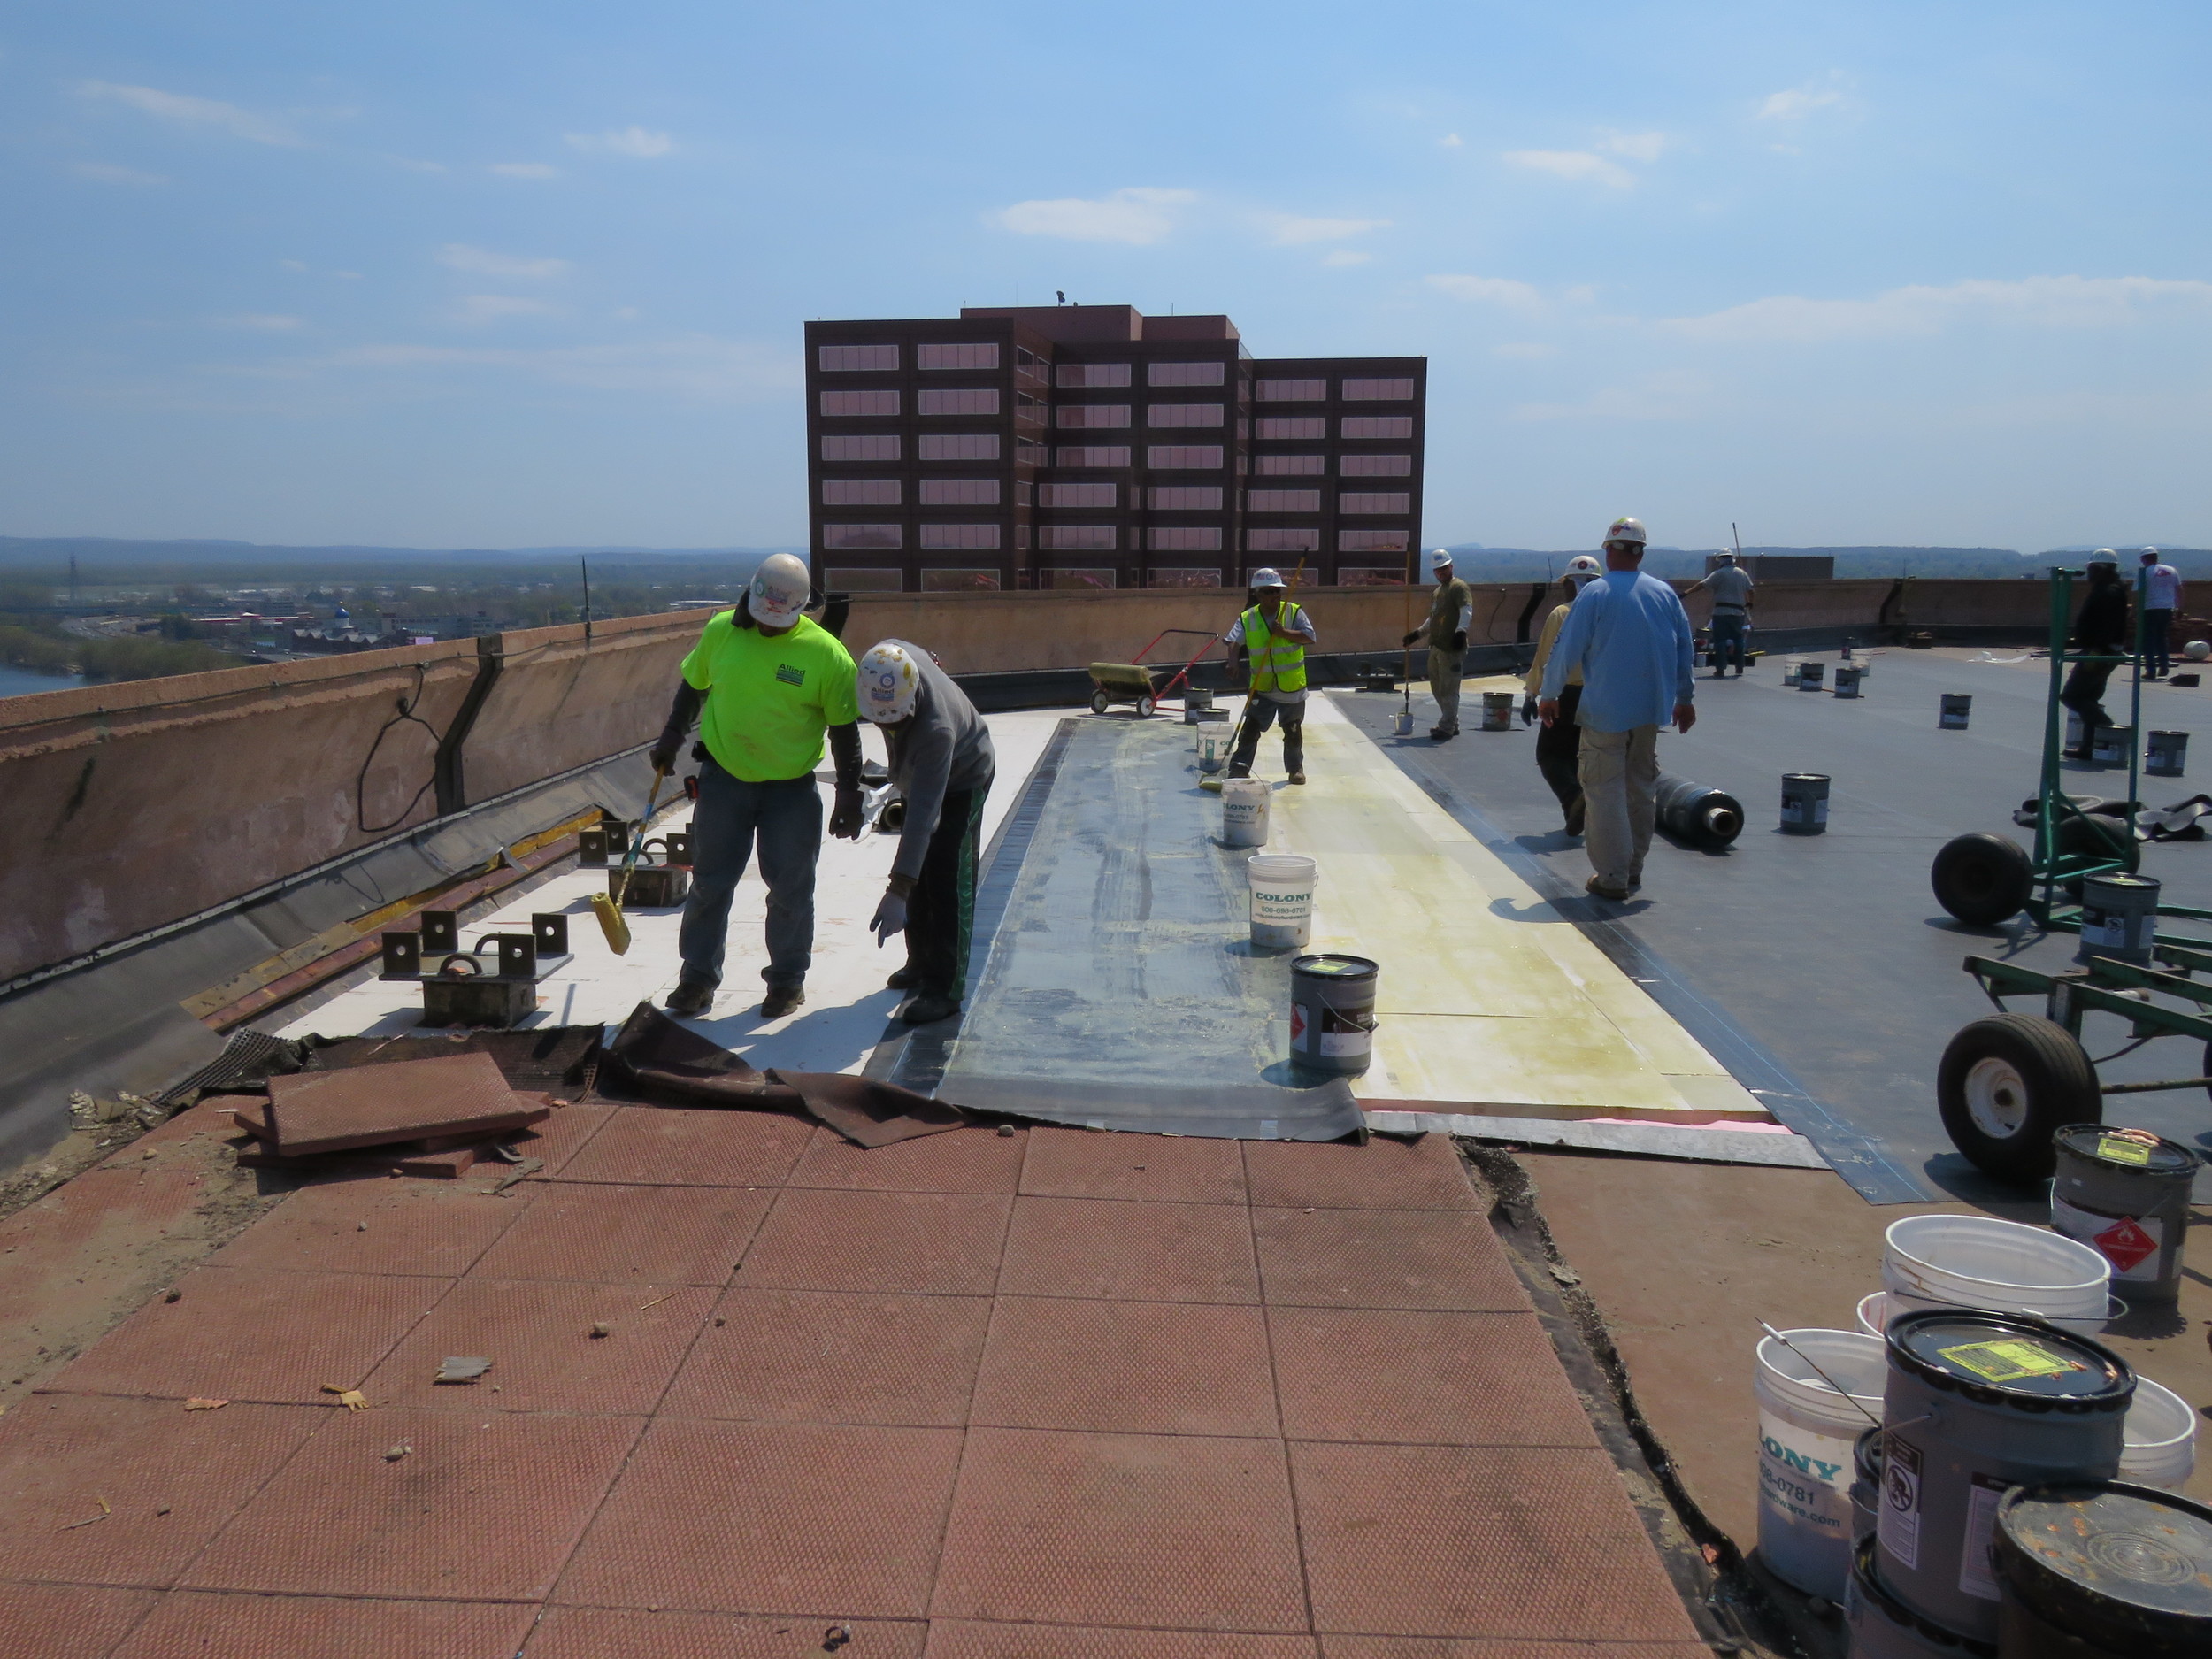
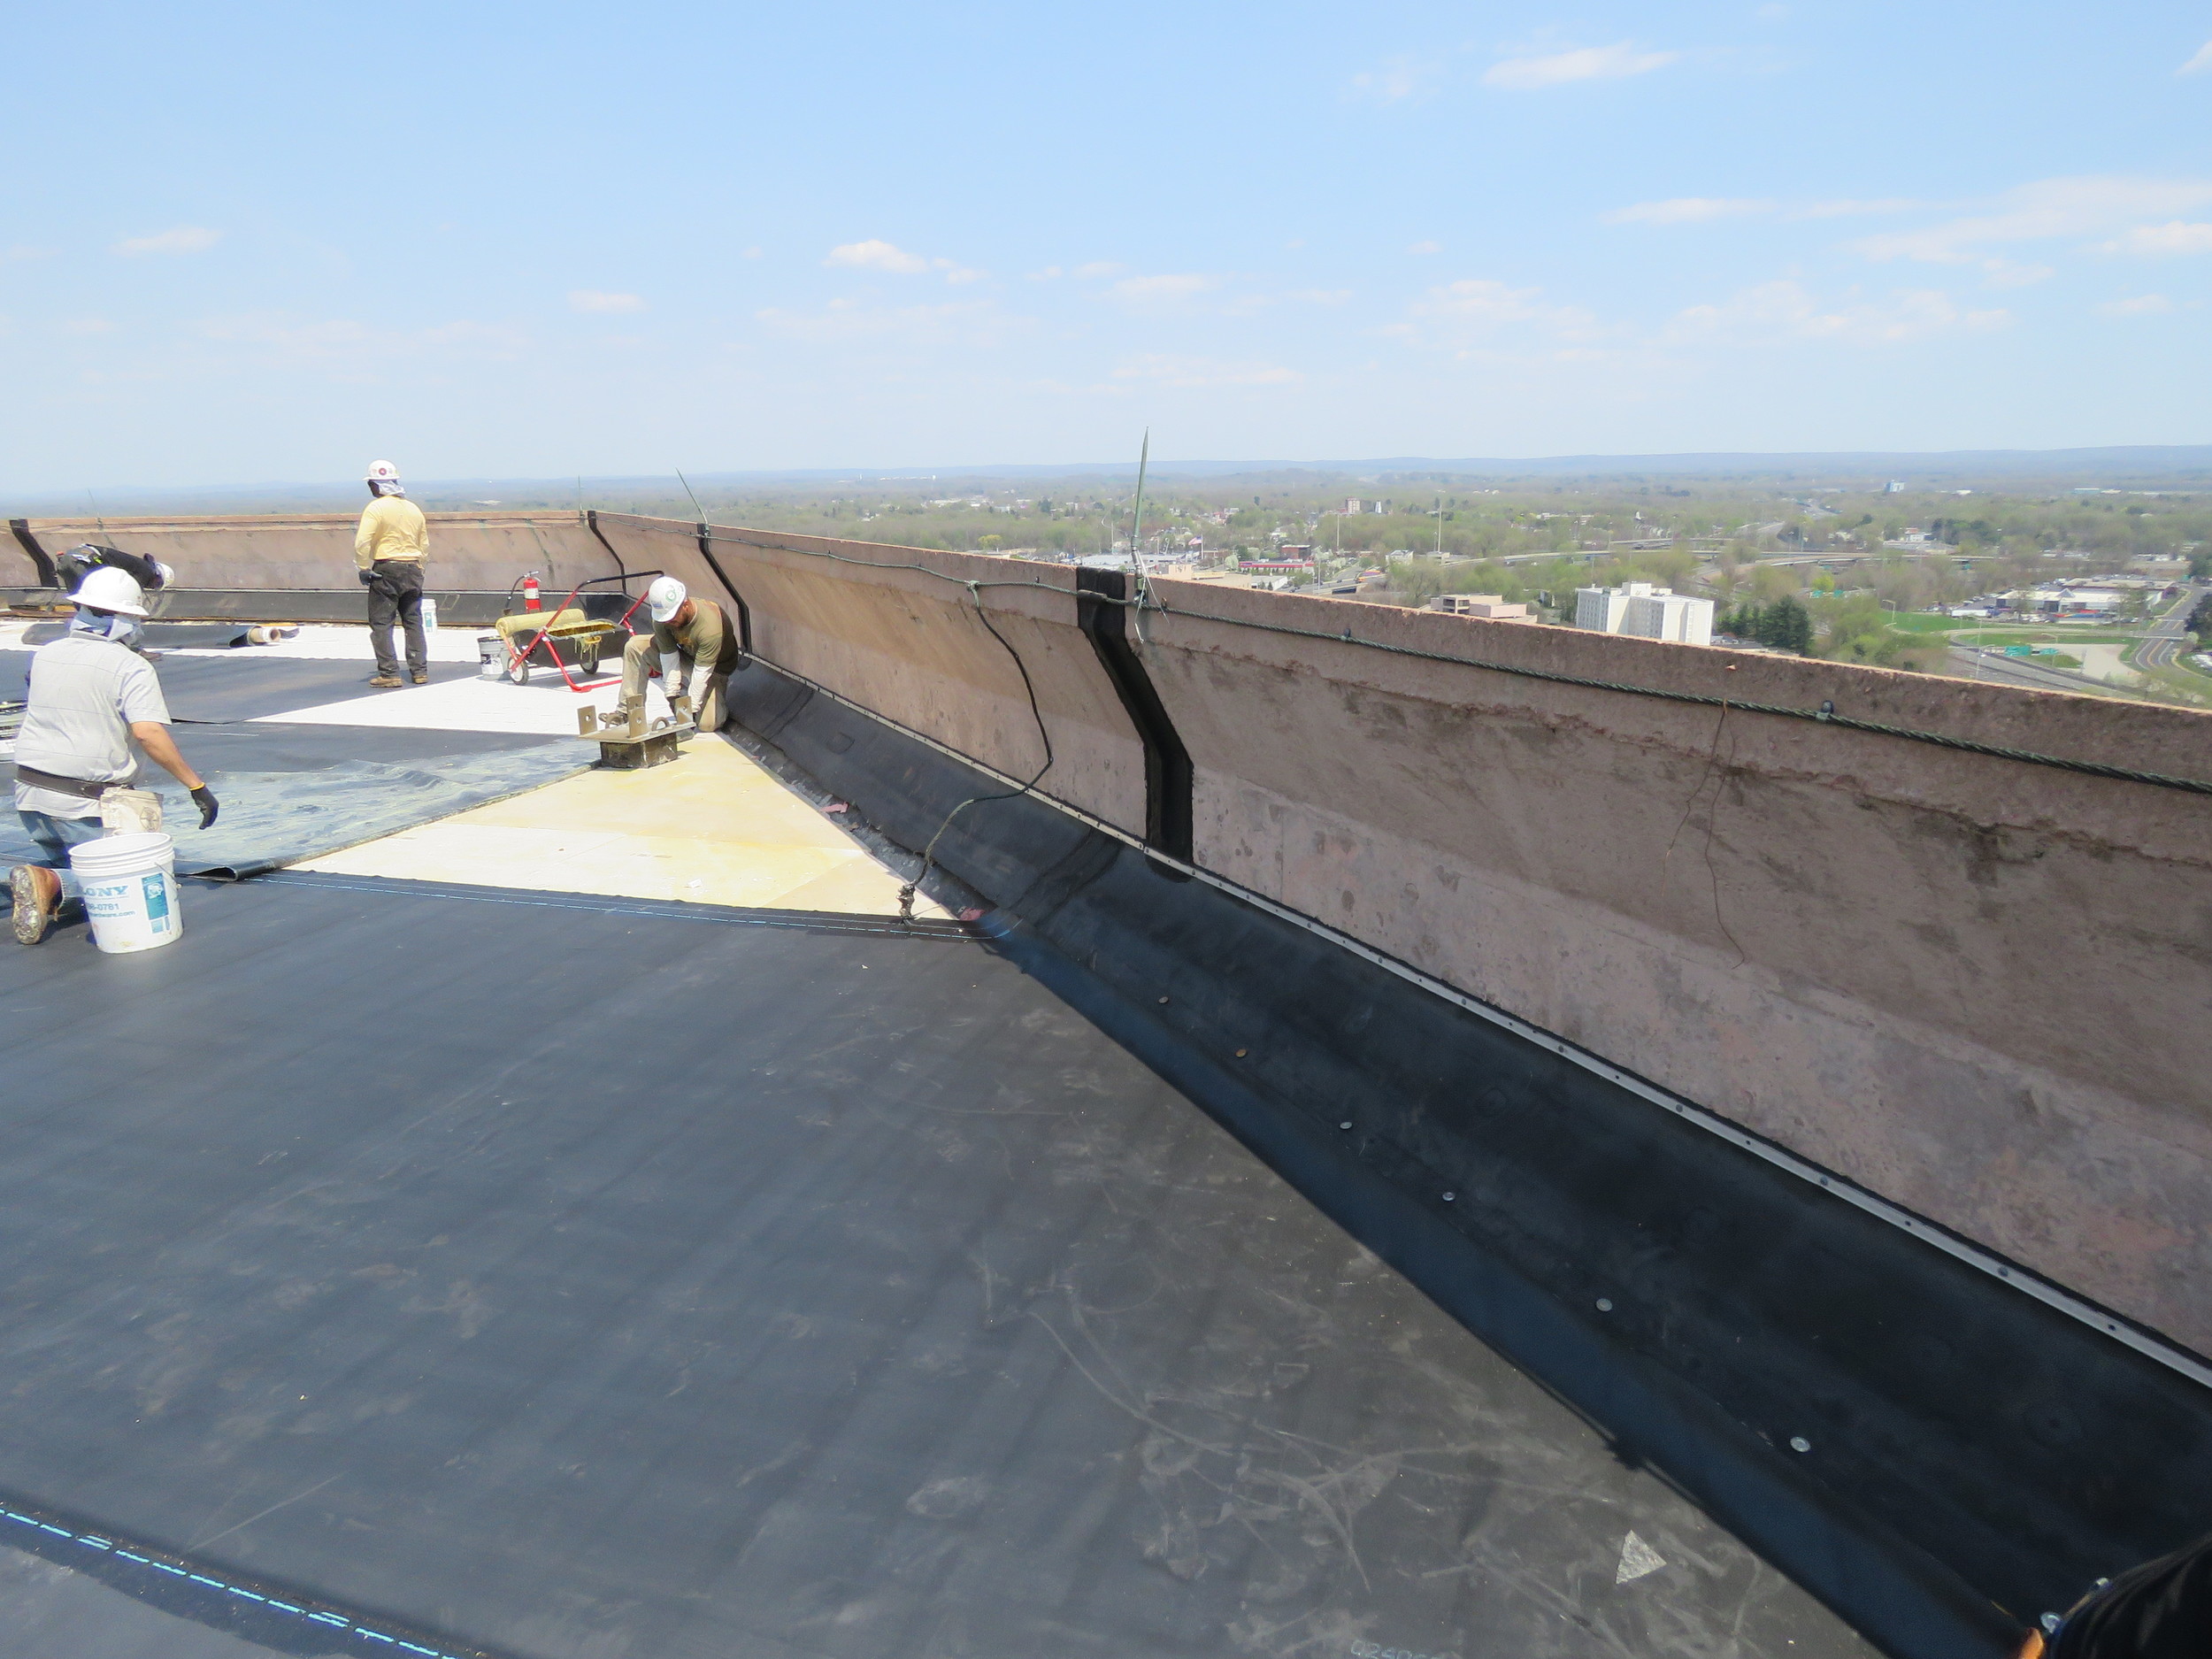
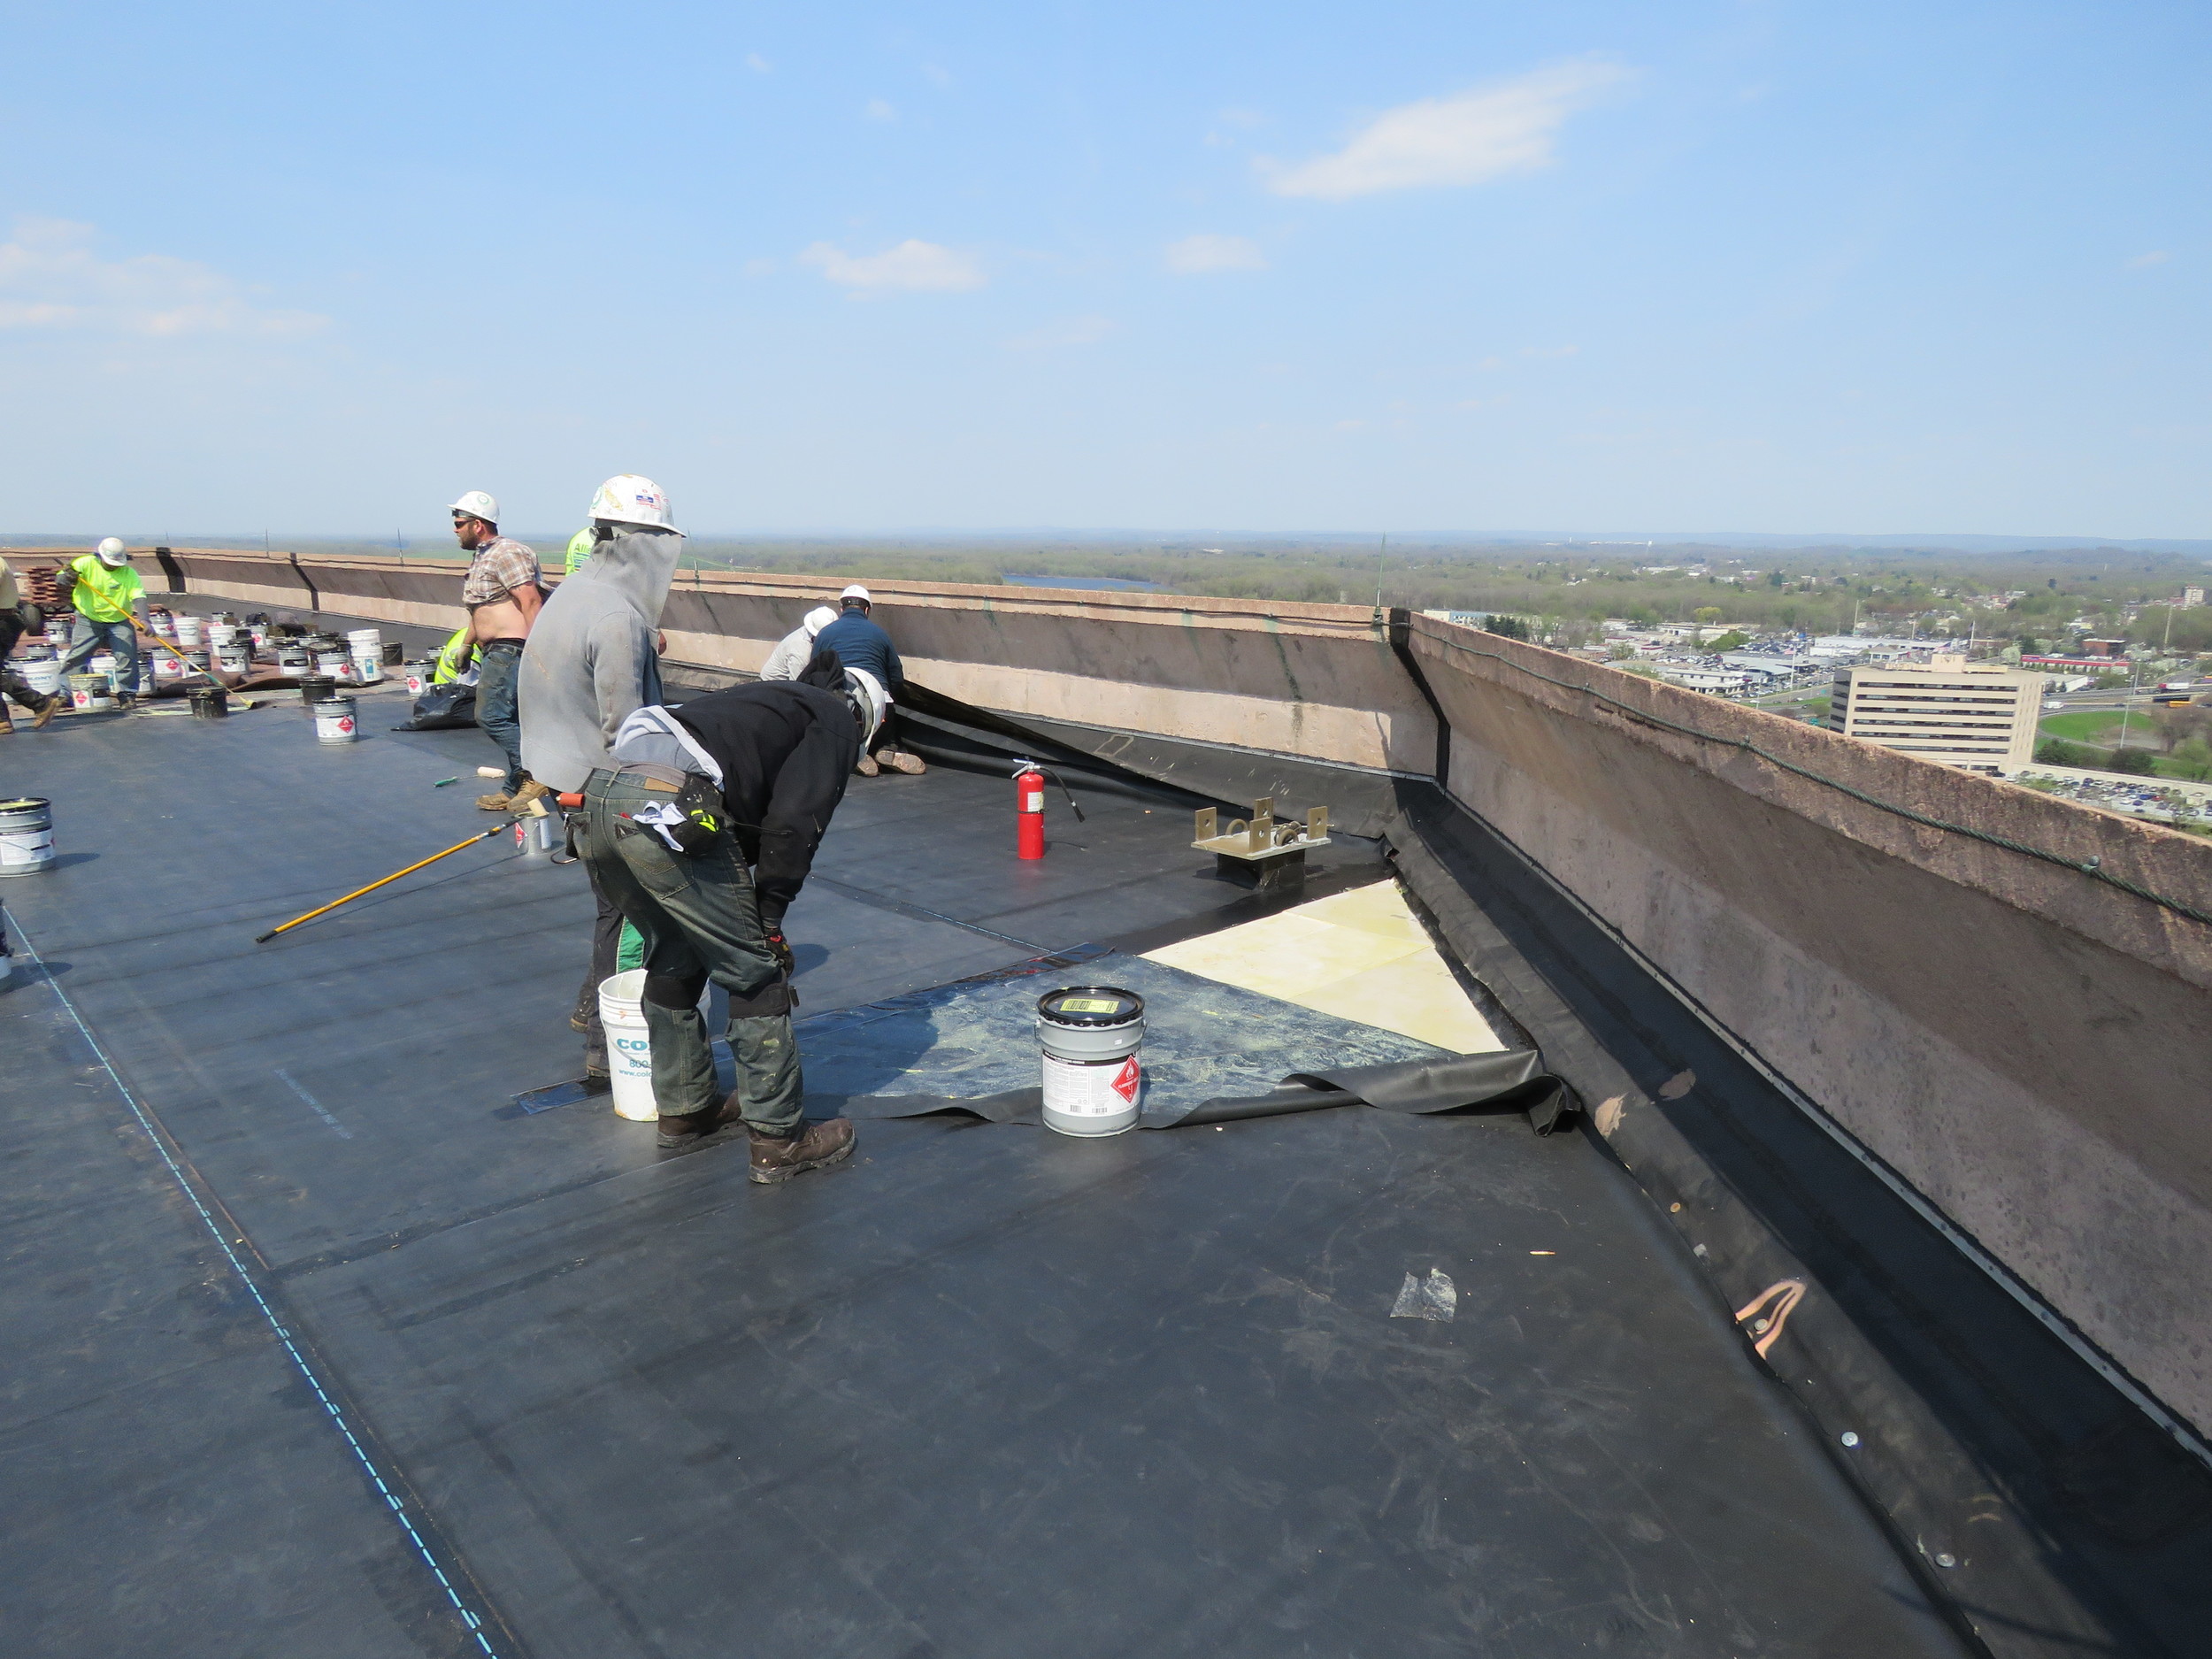
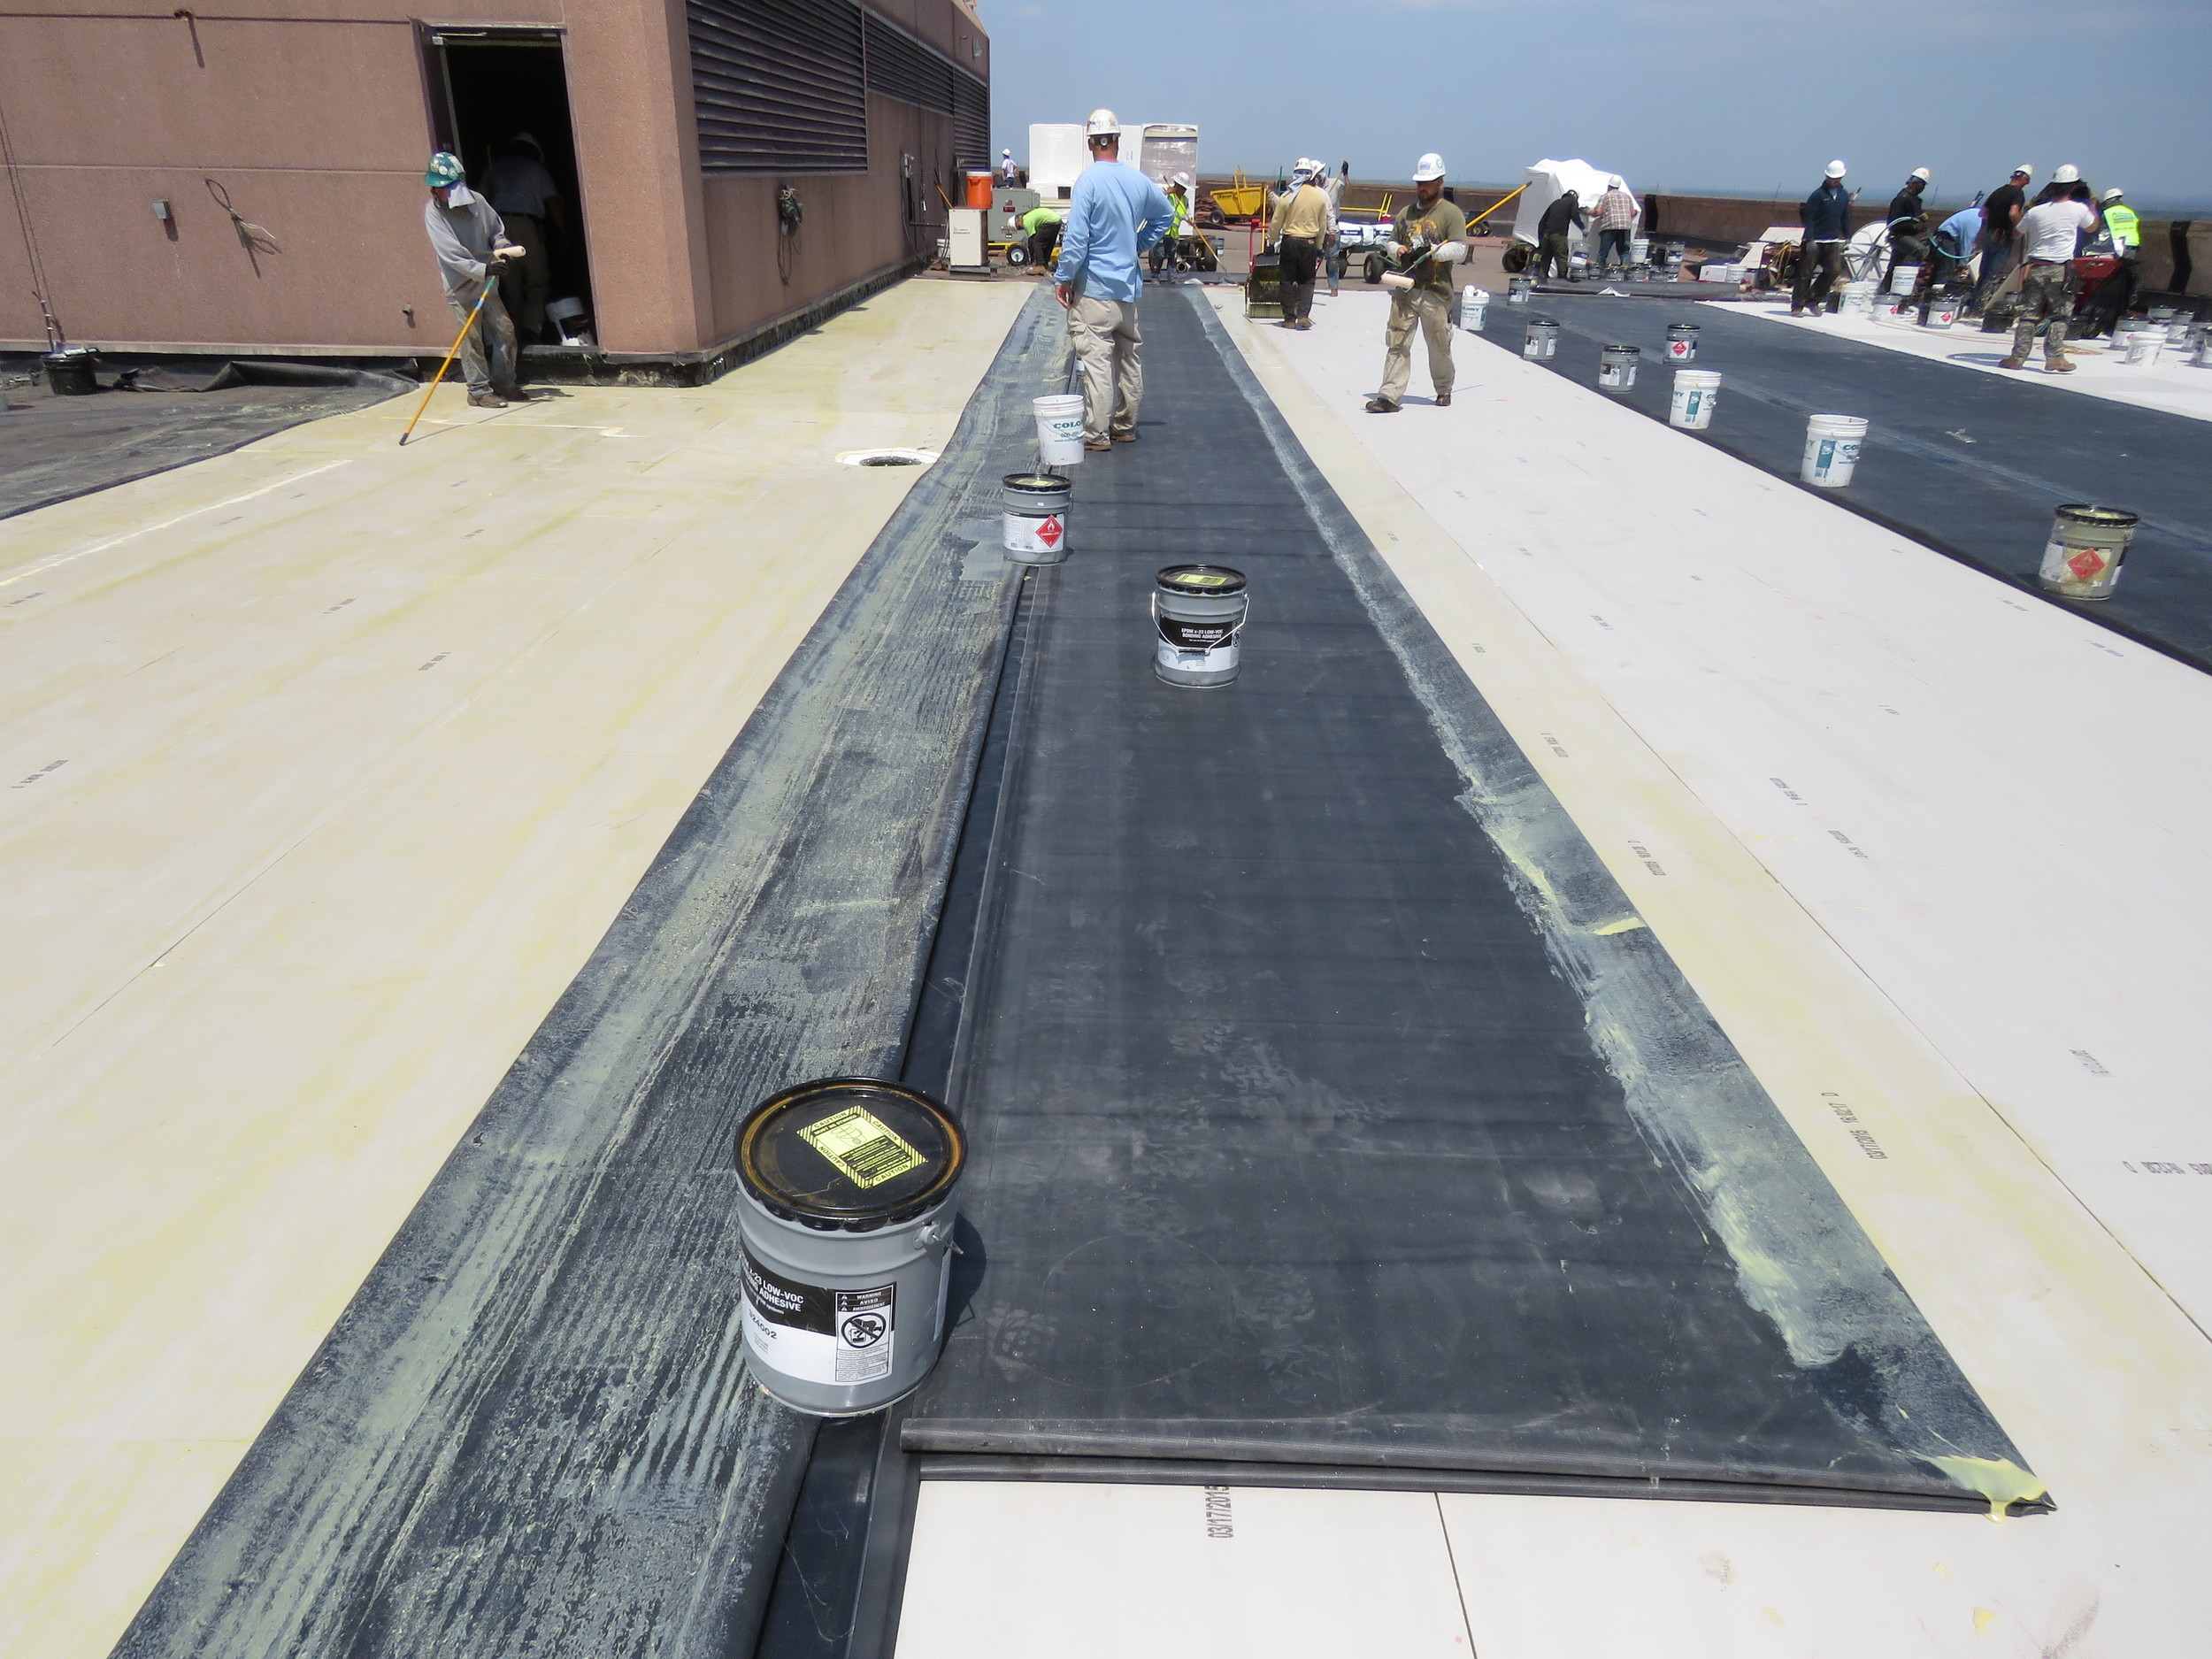
Installing a Fully-Adhered EPDM Roof Membrane

By Roof Online Staff • Last updated September 29, 2022

Also see our Introduction to EPDM Roofing, EPDM Rubber Roof Cost Guide, and Roofing and Insulation Adhesives articles.

Click on an image to enlarge it.

Letting the EPDM roofing sheets relax before installation.
Letting the EPDM roofing sheets relax before installation
Applying the membrane adhesive.
Applying the membrane adhesive
Using rollers to apply EPDM membrane adhesive.
Using rollers to apply EPDM membrane adhesive
Membrane adhesive is applied both to the substrate (the cover board) and the EPDM membrane itself.
Membrane adhesive is applied both to the substrate (the cover board) and the EPDM membrane itself
Since the EPDM membrane is not attached at this point, weights (the buckets) are needed to keep the wind from blowing it out of position.
Carefully rolling the EPDM membrane into place.
Carefully rolling the EPDM membrane into place
Positioning a fully-adhered EPDM field membrane.
You’ve got to do this carefully!
Pulling a part of the EPDM membrane back up so there won't be a wrinkle there later.
The wind caught it! Pulling a part of the EPDM membrane back up so there won’t be a wrinkle there later.
Freshly-installed sheet of fully-adhered EPDM membrane.
Done with that sheet. Looks good!
Preparing a sheet of fully-adhered EPDM membrane.
Preparing another sheet
Applying membrane adhesive to the cover board in a fully-adhered EPDM system.
Applying membrane adhesive to the cover board
Pavers used as ballast on a roof.
You can see the pavers sitting on top of a section of the old ballasted roof
Perimeter work on an EPDM roof.
Perimeter work
Installing a fully-adhered EPDM roof membrane.
Finishing up for the day